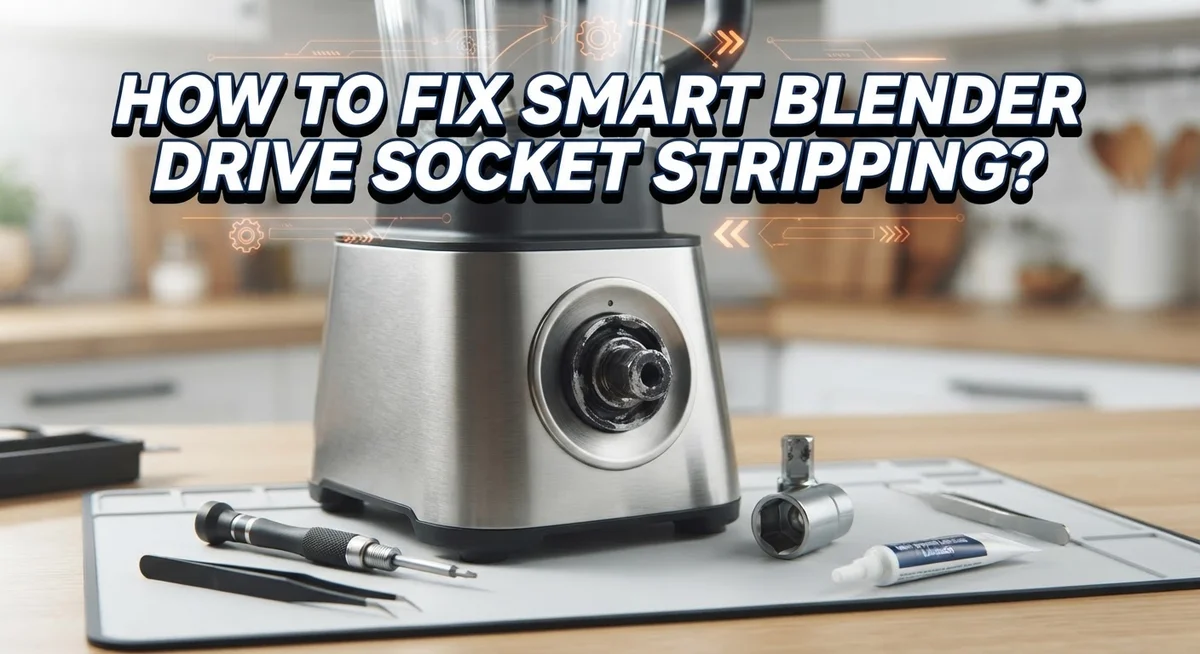
How To Fix Smart Blender Drive Socket Stripping?
Does your blender suddenly spin without blending anything? That is often a sign of a stripped drive socket. This small part connects your blender base to the pitcher. When it wears out, your blender loses its grip and power.
A stripped socket can happen from regular wear and tear. Sometimes improper assembly speeds up the damage too. Either way, your blender stops working the way it should.
The good news? You can fix this problem yourself. Replacement is the main solution, and it does not require special skills. You just need the right parts and a little patience.
In this guide, we will walk you through the entire process. You will learn how to spot a stripped socket in the first place. We will cover the exact steps to remove the old part and install a new one.
We will also share important tips to avoid common mistakes. Many people force screws into the wrong holes or pick parts with mismatched dimensions. This guide helps you skip those errors completely.
By the end, you will know exactly how to get your blender running smoothly again.
In a Nutshell
Here is a quick summary to fix your blender’s stripped drive socket.
-
Remove the old socket first. Take out the damaged part carefully. This clears the way for a new one.
-
Match the stem diameter. Your new socket must fit the original size. A wrong fit will not work well.
-
Check the screw size too. Screws need to match the holes perfectly. This keeps everything tight and secure.
-
Look for metal reinforcements. Some sockets have metal around the screw holes. This adds extra strength and durability.
-
Never force a mismatched part. If it does not fit, stop right away. Forcing it can cause more damage.
-
Test the fit before final assembly. Place the new socket in without screwing it down. Make sure it sits correctly first.
Following these steps helps you avoid common mistakes. You will save time and money this way. Your blender should run smoothly once you finish these steps.
What Is Drive Socket Stripping and Why It Happens
A drive socket is the part that connects your blender base to the pitcher. It sits inside the base and holds the pitcher firmly in place while the blades spin. When you twist the pitcher onto the base, the socket grips it securely.
Stripping happens when the threads or gripping surfaces inside this socket wear down or break. Once stripped, the socket loses its grip, and your pitcher spins freely without actually blending. The blades may turn, but nothing gets mixed.
Why does this happen? The most common cause is regular use over time. Every time you attach and remove the pitcher, the socket experiences friction and pressure. After months or years, these materials simply wear out.
Forcing the pitcher on too hard accelerates this damage. If you twist with excessive force, you damage the internal gripping surfaces faster. Misaligned assembly also causes problems. When the pitcher does not sit straight on the base, pressure concentrates in one spot, creating weak points.
Using the wrong replacement part creates another issue. If you install a socket with a different stem diameter or screw size, it will not fit properly. This mismatch causes the new socket to fail quickly.
What exactly breaks? The internal threads strip away, or the gripping ridges flatten out. Metal reinforcements around the screw holes can bend or crack. Once damaged, the socket cannot hold the pitcher in position.
The good news is that this is a fixable problem. You simply replace the old socket with a new one that matches your blender’s specifications. Understanding what caused the stripping helps you avoid repeating the mistake with your replacement part.
Signs Your Blender’s Drive Socket Is Stripped
A stripped drive socket shows clear warning signs. The most obvious one is when your pitcher spins freely on the base without actually blending. You turn on the blender, but nothing happens inside the pitcher.
Another sign is a loose connection between the pitcher and base. When you attach the pitcher, it feels wobbly or unstable. You might notice it wobbles side to side even when locked into place.
Listen for unusual sounds too. A grinding or clicking noise during operation often means the socket has lost its grip. The pitcher may also slip off the base more easily than before.
Check for visible damage around the connection point. Look at where the pitcher meets the base. You might see cracks, worn plastic, or metal parts showing through.
Test the pitcher manually. Remove it from the base and try to twist it by hand. A normal socket resists your twisting motion. A stripped socket spins too freely with little resistance.
Pay attention to how the pitcher sits. Does it sit flush against the base? A stripped socket may cause the pitcher to sit at an angle or leave gaps around the edges.
You might also notice the blender leaks during use. When the pitcher does not seal properly, liquid escapes from the connection point. This happens because the socket cannot grip the pitcher stem tightly anymore.
These signs tell you it is time to replace the drive socket. Catching these problems early prevents further damage to your blender base. The longer you wait, the more wear happens to surrounding parts.
Tools and Replacement Parts You’ll Need
Before you start fixing your blender’s stripped drive socket, gather the right tools and parts. Having everything ready makes the job faster and prevents frustration.
You will need a replacement drive socket that matches your blender model. The new socket must have the same stem diameter as your original part. Measure the old socket’s stem carefully before ordering a replacement. This ensures proper fit and function.
Screws are essential too. Check what size screws your blender uses. Common sizes include M4 or M5 metric screws. Count how many screws hold the socket in place. Your replacement should come with matching screws, but verify this beforehand.
Basic hand tools make the job easier. A screwdriver set with both Phillips and flathead options helps remove old fasteners. A wrench or socket set works well if your blender uses bolts instead of screws. Keep a flashlight nearby to see inside the blender base clearly.
Consider having a small container ready. You will remove multiple screws, and losing them creates problems. Store each screw in a safe spot so you can reinstall them correctly.
Check for metal reinforcements around the screw holes. Some replacement sockets feature reinforced areas that prevent future stripping. These versions cost more but last longer. Inspect your old socket to see if it had reinforcements.
A work surface matters too. Use a clean, flat area to lay out your parts. This prevents losing small pieces and keeps your workspace organized.
Gathering these items beforehand saves time and reduces mistakes during installation.
Step-by-Step: Removing the Old Drive Socket
Start by unplugging your blender from the electrical outlet. Safety comes first, and you never want power running through the unit while you work on it.
Locate all the screws holding the old drive socket to the blender base. Most blenders have between three and five screws around the socket’s perimeter. Use your screwdriver set to remove each one carefully. Place these screws in your small container so you don’t lose them.
Once the screws are out, gently pull the old drive socket away from the base. It may take a little wiggling to separate it completely. Don’t force it if it seems stuck. Sometimes a small amount of residue or mineral buildup holds the socket in place. A gentle rocking motion usually breaks the seal.
Inspect the socket’s stem diameter as you remove it. This measurement matters for your replacement part. Write down or photograph the stem size before you set the old socket aside.
Check the screw holes in the base for any damage or debris. Clean out any dust or buildup using a dry cloth. Look at the holes carefully to confirm they are still intact and not stripped themselves.
Examine the mounting surface where the socket connects to the base. Make sure this surface is clean and flat. Any bumps or residue can prevent your new socket from fitting properly.
Store the old socket safely in case you need to reference its specifications later. Take a moment to verify that your replacement socket matches the stem diameter and screw size of the original part. This verification step prevents installation problems down the road.
Step-by-Step: Installing and Securing the New Socket
Start by preparing your blender base. Make sure the mounting surface is clean and free of dust or debris. Wipe it down with a dry cloth to create a smooth area for the new socket.
Position your new drive socket onto the base. Align the stem with the center opening. The socket should sit flat against the mounting surface without gaps or wobbling.
Check the alignment before you tighten anything. The stem must point straight down into the base. A misaligned socket will cause problems when you attach the pitcher later.
Insert the screws through the socket’s mounting holes. Start with hand pressure only. This prevents cross threading, which happens when screws go in at an angle.
Tighten each screw gradually. Work in a criss cross pattern, similar to tightening car wheel nuts. This distributes pressure evenly across the socket base.
Do not force screws into the holes. If a screw resists, stop and check the alignment. Forcing indicates the replacement part does not match your blender model.
Verify the stem diameter matches your original socket. The pitcher’s drive must fit onto this stem without excessive wiggle or looseness. Too much play means the connection will fail.
Once all screws are snug, test the socket by hand. Push and pull gently to confirm it does not move. The socket should be completely solid.
Tighten gradually rather than aggressively. Over tightening can crack the plastic base or strip new screw holes. You want firm contact, not maximum force.
Inspect the connection point one final time. Look for any gaps between the socket and base. A proper installation shows no spaces or movement when you apply gentle pressure.
Matching Specs: Stem Diameter, Screw Size, and Reinforcements
When you replace a stripped drive socket, matching the right specifications is critical. Your new socket must fit perfectly with your blender base, or you will face installation problems and poor performance.
Stem diameter is the first measurement you need to verify. The stem is the shaft that connects your pitcher to the blender base. Measure your original socket’s stem before ordering a replacement. Check the diameter in millimeters or inches. A mismatched stem diameter means your pitcher won’t seat properly on the base.
Screw size matters just as much as stem diameter. Count how many screws hold your drive socket in place. Note whether they are Phillips head or flathead screws. Write down the size, typically measured in millimeters like M4 or M5. Using the wrong screw size creates gaps or forces you to overtighten, which damages the plastic base.
Metal reinforcements around screw holes provide extra durability. Some replacement sockets include reinforced areas designed to prevent future stripping. Check if your original socket has these reinforcements. If it does, choose a replacement with the same feature.
Before you buy a replacement, take photos of your old socket from multiple angles. Write down every measurement you find. Contact the blender manufacturer with your model number and these measurements. They can confirm the exact replacement part you need.
Never force a replacement socket into place. If screws resist or the stem doesn’t align smoothly, stop immediately. Forcing indicates a mismatch in specifications. Double check your measurements and verify the replacement part number. A proper fit requires no force at all.
Common Mistakes to Avoid During Replacement
Forcing screws into mismatched holes is the most common mistake people make. When a screw resists, many users push harder instead of stopping to check alignment. This damages both the new socket and your blender base. Always pause and verify that your replacement socket matches the original specifications.
Using an incorrect replacement part causes major problems. People sometimes grab a socket that looks similar without measuring the stem diameter or screw size. The socket may sit loose or wobble even after installation. A loose connection defeats the entire repair. Take time to confirm your new socket has the exact same dimensions as the original.
Ignoring stem thickness differences between parts leads to poor performance. The stem connects your pitcher to the blender motor. If the new stem is thicker or thinner than the original, your pitcher won’t grip properly. Test the fit before you tighten any screws. Your pitcher should sit snugly on the stem without wiggling.
Over tightening screws strips new holes faster than you expect. People think tighter means better, but aggressive tightening cracks plastic bases and ruins new screw holes. Tighten each screw gradually and stop when you feel resistance.
Skipping the alignment check wastes time and money. Before inserting screws, position your new socket and verify it sits flat against the base. Look for gaps or tilting. Proper alignment prevents future stripping and ensures your blender works correctly.
Never reinstall a socket without inspecting the mounting surface first. Debris or damage on the base prevents proper seating. Clean the area thoroughly before installing your new socket.
Troubleshooting Fit and Assembly Issues
A stripped drive socket loses its grip on the pitcher. You’ll notice the pitcher wobbles or disconnects from the base during blending. The connection feels loose no matter how firmly you attach it.
Identifying the problem early saves you time and frustration. Look for visible wear on the socket’s threads or screw holes. The socket may sit unevenly on the base. Screws might spin without tightening properly.
Before you replace anything, clean the mounting surface thoroughly. Remove dust, food debris, and dried residue. A clean surface reveals the true damage and helps you assess what needs fixing.
Remove the old socket by unscrewing all fasteners. Keep these screws in a safe place. You’ll use them as a reference for your replacement part. Take photos of the old socket from different angles. These images show you the exact stem diameter and screw hole positions.
Measure the stem diameter carefully. This is the cylindrical part that connects to your pitcher. Use a ruler or caliper to get an accurate measurement. Note the screw size and count how many holes the socket has.
Check the mounting surface on your blender base for cracks or damage. Stripped screw holes in the plastic base may need repair before you install a new socket. If the base is damaged, you may need to replace it instead.
Order a replacement socket that matches your original specifications exactly. Verify the stem diameter, screw size, and hole pattern before installation. Never attempt to force a socket that doesn’t fit properly.
Test fit the new socket on the base without screws first. The stem should slide smoothly into the pitcher connection. The socket should sit flat against the mounting surface with no gaps.
Final Thoughts
Fixing a stripped drive socket is a simple job once you understand the basics. You don’t need special tools or advanced skills to complete this repair.
The whole process comes down to one thing: getting the right replacement part. Once you have that, installation becomes straightforward.
Take your time during every step. Rushing leads to mistakes that cost you money and effort later on.
Patience matters more than speed in this type of repair. A slow, careful approach always beats a fast, careless one.
Remember that your blender base and pitcher depend on this connection working smoothly. A properly fitted socket means better blending performance and fewer breakdowns.
If something doesn’t fit right, stop and check your measurements again. Forcing parts together never solves the problem—it only creates new ones.
Keep your old socket nearby as a reference point. Comparing it directly to the new part helps you catch differences before they become issues.
Small blenders often use simple designs, but that doesn’t mean shortcuts work. Every screw and every connection point matters for long term durability.
Once you finish the repair, run a quick test cycle. This confirms the pitcher locks securely and the motor engages without slipping.
A well repaired socket can last for years if you install it correctly. Regular checks help you catch early signs of wear before they turn into bigger problems.
This fix is manageable for most people at home. With the right part and careful attention, you can restore your blender’s function quickly.
Trust the process, follow each step, and your blender will work like new again.
Frequently Asked Questions
What causes a drive socket to strip in the first place?
A drive socket strips when the connection between your blender base and pitcher weakens. This happens from repeated use, wear over time, or forcing the pitcher onto the base incorrectly. The threads inside the socket gradually lose their grip. Metal fatigue and corrosion can also play a role, especially if your blender sits in humid environments.
How can I tell if my socket is actually stripped?
Your pitcher won’t stay secure on the base anymore. You’ll notice it spins freely or wobbles when you try to attach it. The connection feels loose even when you tighten it fully. Sometimes you’ll see visible damage or metal shavings around the socket area. The pitcher may not turn on at all because electrical contact is lost.
What measurements do I need before ordering a replacement?
You need two key measurements. First, measure the stem diameter. This is the cylindrical part that fits into your pitcher. Second, check the screw size that holds the socket in place. Count how many screws secure it too. Your old socket serves as the perfect reference. Take it with you or photograph it alongside a ruler for accurate sizing.
Will any replacement socket work on my blender?
No. Your replacement must match your original socket exactly. Stem diameter and screw size are critical. Using the wrong part creates gaps or forces you to drill new holes. This causes even more damage to your blender base. Always verify compatibility before purchasing a replacement. When you test fit it without screws, it should sit flush against the mounting surface.
What should I do if the new socket doesn’t fit properly?
Stop immediately and recheck your measurements. Compare the new socket to your old one side by side. Verify that the stem diameter matches. Look at the screw hole spacing and count the holes again. Sometimes sellers provide incorrect part numbers. Contact the supplier to confirm specifications. Never force a socket that doesn’t fit properly onto your blender base.

Hi, I’m Rue Hessel, the founder and voice behind TheGenTool. I’m a passionate tech enthusiast who loves exploring the latest gadgets, smart devices, and electronics that shape our everyday lives. Through my website, I share honest, hands-on reviews of trending Amazon products to help you make smarter and more confident buying decisions.