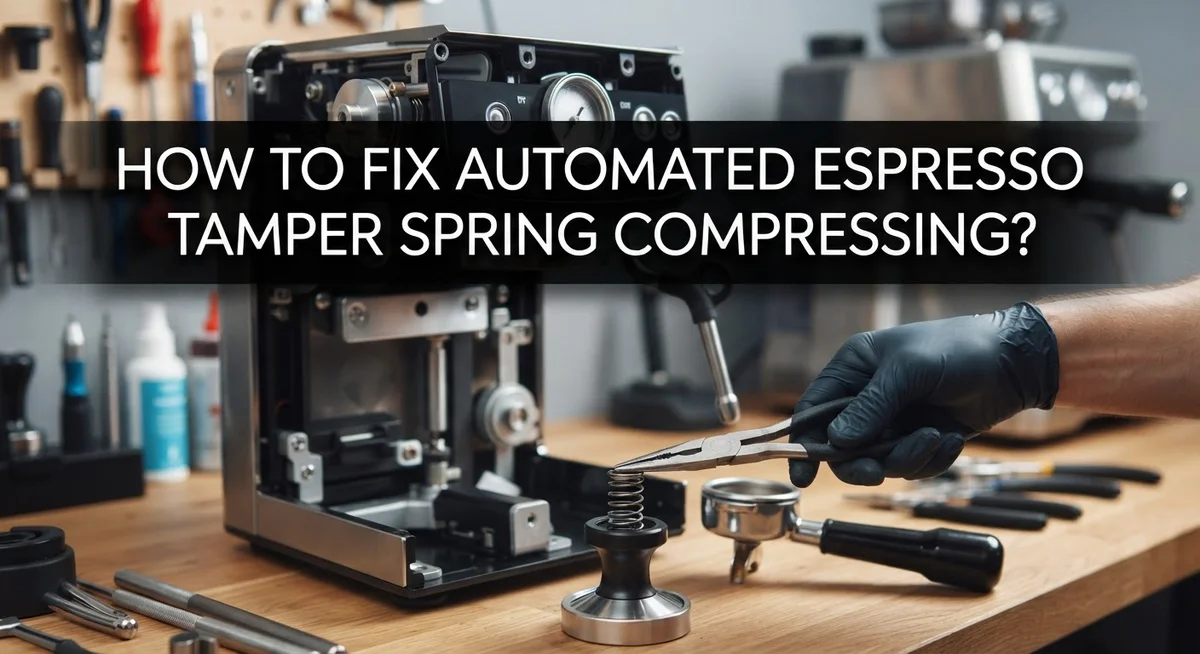
How To Fix Automated Espresso Tamper Spring Compressing Issues?
Does your espresso puck feel soft or uneven, even after tamping? The problem might be your automated tamper spring compression.
This small mechanical detail affects your entire shot. When the spring does not compress correctly, your puck density suffers. This leads to channeling, weak extraction, or bitter shots.
Many espresso lovers miss this issue. They blame the beans or the grinder. But the real culprit often hides in the tamping process itself.
Automated tampers use a spring loaded system. This system stops at a calibrated depth. That depth ensures every tamp feels the same.
In a Nutshell
- Push until it bottoms out. Don’t stop when the spring starts compressing. Keep pressing until the tamper reaches its full calibration limit.
- Follow the right sequence. Grind, then use WDT, distribute the grounds evenly, tamp, check your work, and brew.
- Keep pressure steady and level. Uneven or angled tamping causes channeling. This leads to uneven extraction and weak shots.
- Check your calibration settings often. A calibrated tamper only works well if its depth limit is set correctly. Review this regularly.
- Clean your tamping surface daily. Coffee residue builds up fast. This buildup affects how your tamper compresses the puck.
- Watch for soft pucks. A soft or spongy puck usually means you’re not pressing to full depth. This is the most common mistake people make.
How Spring-Loaded Tampers Are Supposed to Work
A spring loaded tamper works through a simple mechanical principle. The spring inside compresses as you push down on the coffee grounds. This compression continues until one of two things happens: either the coffee puck reaches maximum density, or the tamper hits its calibrated depth limit.
The calibration depth is crucial. This preset limit ensures every tamp reaches the same compression level. Without it, your shots would vary wildly from one brew to the next. The spring allows consistent pressure application without requiring you to measure force manually.
Here’s the actual sequence your tamper follows. You place it gently on the coffee surface. Then you apply steady downward pressure. The spring begins to compress as resistance increases. You keep pushing until the tamper bottoms out completely. This “bottoming out” moment is when the calibration limit engages. That’s your signal to stop.
Many people misunderstand this process. They think stopping when spring resistance increases is correct. It’s not. You must continue pressing until the tamper physically cannot go lower. That’s when proper compression happens.
The spring itself serves an important function. It provides consistent resistance throughout the tamp. This helps you apply even pressure across the entire puck surface. Without the spring, you’d need to guess how hard to push. The spring does that work for you.
Temperature and humidity affect how the spring performs. Cold springs compress differently than warm ones. Humidity can cause slight variations too. This is why checking calibration regularly matters.
The spring also protects your equipment. If you accidentally press too hard, the spring absorbs excess force. This prevents damage to the tamper head or portafilter basket. The spring acts as a built in safety mechanism while maintaining compression consistency.
Signs Your Tamper Spring Is Compressing Incorrectly
Your automated espresso tamper spring might be compressing incorrectly, and several clear signs reveal this problem. Recognizing these warnings helps you fix issues before they ruin your shots.
A soft or spongy espresso puck is the most obvious sign. After tamping, your puck should feel firm and dense. If it feels mushy or gives way easily when you press it with your finger, your tamper isn’t reaching full compression depth. This happens when you stop applying pressure too early.
Inconsistent extraction during brewing points to spring compression problems. Your shot might gush water too quickly in some areas while flowing slowly in others. This uneven flow means your puck has soft spots. The tamper spring didn’t compress all grounds uniformly.
Watch for resistance that feels different each time you tamp. A properly working tamper bottoms out with the same feel every single time. If some tamps feel springy and others feel hard, your calibration might be drifting or your technique is varying.
Visible channeling in your puck after brewing shows compression failed. Channeling looks like small holes or cracks where water rushed through instead of flowing evenly. This happens when your spring compressed unevenly or you tamped at an angle.
Pay attention to uneven tamper head contact with the coffee surface. If the tamper head doesn’t sit flat and level on your grounds, the spring compresses unevenly. One side might compress fully while the other side stays soft.
Audible differences matter too. Listen when you tamp. A properly compressed puck makes a solid, consistent sound. Hollow or muffled sounds suggest incomplete compression.
Finally, notice if your espresso shots taste thin or sour. These flavors often mean under extraction occurred because your puck wasn’t compressed enough. The water passed through too quickly without extracting enough flavor compounds.
Step-by-Step Fix: Correcting Your Tamping Technique
Your tamping technique directly affects how your spring compresses and performs. Start with proper placement on the coffee surface. Set your tamper gently and level before you apply any downward force. An angled or tilted approach creates uneven compression and ruins extraction.
Apply steady, consistent pressure throughout the entire motion. Many people make the mistake of pushing hard at first, then easing off. Instead, maintain the same force from start to finish until the tamper bottoms out completely.
The key mistake happens when you stop pressing once the spring begins compressing. This is backwards. Your calibrated tamper needs you to continue pressing all the way down to its preset depth limit. That limit is what ensures consistency, not where you happen to feel resistance.
Follow the correct sequence every time you tamp. Grind your beans, use WDT to break up clumps, distribute grounds evenly across the basket, then tamp with full compression, check for level contact, and brew. This order matters because each step prepares the puck for the next one.
Keep your tamping surface clean daily. Coffee residue builds up quickly and creates an uneven contact surface. Wipe it down before and after tamping sessions. Buildup prevents your tamper head from making flush contact with the coffee.
Pay attention to how the tamper feels in your hand. If resistance seems different from one tamp to the next, your technique likely varies. Your pressure, angle, or placement might shift slightly each time. Record yourself tamping or ask someone to watch your form and point out inconsistencies.
Check your calibration settings regularly. Even perfect technique fails if your tamper’s depth limit drifts out of adjustment. Verify the preset compression depth hasn’t changed. This simple check prevents most spring compression problems before they start affecting your shots.
Checking and Adjusting Calibration Settings
Your automated espresso tamper has calibration settings that control how deep it compresses. These settings determine the maximum depth your puck reaches. Understanding how to check and adjust these settings fixes most compression problems.
Start by locating your tamper’s calibration adjustment mechanism. Most models have a dial, screw, or lever on the side or bottom. Check your equipment manual to find the exact location. This mechanism controls the preset compression depth limit.
Press your tamper gently on a flat surface without coffee. Observe where the tamper head stops. This stopping point is your current calibration depth. If your puck feels too soft, your depth setting may be too shallow. If your puck feels too dense, your depth setting may be too deep.
Make small adjustments to your calibration settings. Turn the dial or screw in tiny increments. One full rotation often equals significant depth changes. Test after each adjustment by tamping a practice puck. This helps you find the right setting without overshooting.
Check that your tamper sits level when it bottoms out. An angled calibration setting causes uneven compression. The tamper head should contact your coffee puck flat and straight. Adjust until you achieve perfect horizontal alignment.
Verify your calibration weekly. Temperature and humidity shift your spring’s behavior over time. A setting that worked last month may need tweaking today. Regular checks prevent drift in your compression depth.
Document your ideal calibration number or position. Write it down or take a photo. This reference helps you quickly return to your best setting if someone adjusts it. Keep this information near your espresso machine for easy access.
Test your adjusted calibration by brewing shots. Taste the espresso and observe the puck texture. You’ll know your calibration is correct when your shots taste balanced and your puck feels firm but not rock hard.
Common Mistakes That Cause Spring Compression Problems
Many people make simple mistakes that cause their automated espresso tamper spring to compress incorrectly. Understanding these errors helps you fix the problem quickly.
Tamping at an angle is one of the most common mistakes. You must place the tamper straight down on your coffee puck. When you tilt or angle the tamper, the spring compresses unevenly. This creates channeling in your puck, which ruins your shot’s flavor.
Stopping too early during the tamping motion causes major issues. Many users stop pressing once they feel the spring start to compress. This is wrong. You need to continue pushing until the tamper bottoms out completely at its calibration limit. Stopping early leaves your puck too loose and soft.
Inconsistent leveling before you tamp creates compression problems. You must ensure your coffee bed sits level inside the basket. If the surface is uneven, the spring compresses differently across the puck. This leads to soft spots and over compressed areas.
Applying variable pressure from tamp to tamp breaks consistency. Your pressure should remain steady and controlled throughout the entire motion. Pressing harder one time and lighter the next time confuses your tamper’s spring mechanism.
Skipping the distribution step before tamping causes compression failures. You should use a distribution tool or technique to level your grounds first. This prepares your puck for even compression.
Ignoring residue buildup on your tamping surface affects spring performance. Coffee particles and oils accumulate daily. This buildup prevents the tamper head from making clean contact with your puck. Wipe your tamping surface clean every single day.
Forgetting to check calibration regularly allows drift to occur. Your tamper’s depth settings can shift over time with normal use. Verify your calibration settings weekly to catch problems early. These simple mistakes are easy to fix once you know what causes them.
Maintenance Habits to Prevent Future Issues
Your maintenance routine directly controls whether your automated espresso tamper spring stays healthy long term. Consistency is your best defense against compression problems.
Establish a daily cleaning habit. Wipe your tamping surface immediately after each shot while the residue is still warm. This takes 10 seconds and prevents buildup that blocks proper spring movement. Use a damp cloth or dedicated espresso cleaning cloth for this task.
Check your tamper’s moving parts weekly. Look for visible coffee oils, mineral deposits, or stuck particles around the spring mechanism. These materials slow down spring response and affect compression depth. A quick inspection takes less than a minute.
Store your tamper properly between uses. Keep it in a dry location away from moisture and extreme temperature changes. Humidity causes metal parts to corrode slightly, which restricts spring movement over time. A simple drawer or cabinet works fine.
Run a test tamp on an empty portafilter twice per week. Press down slowly and feel how the spring responds. It should compress smoothly without sticking or grinding sounds. Any resistance signals that cleaning is needed sooner than usual.
Document your tamping sessions in a simple notebook or phone memo. Record when you last cleaned the mechanism, any pressure changes you notice, and your calibration settings. This tracking helps you spot patterns before problems develop.
Replace your tamper gasket or seal annually if your model uses one. These rubber components wear out and allow internal spring parts to become exposed to moisture and debris. A fresh seal keeps everything protected.
Avoid storing your tamper with the spring fully compressed. Leave it in a neutral, relaxed position. Constant compression fatigues the spring metal and reduces its lifespan.
These habits take minimal time but save you from expensive repairs or replacement. Your spring will maintain consistent compression and deliver reliable performance for years.
Troubleshooting Persistent Compression or Soft Puck Problems
When your espresso puck feels soft or compresses unevenly, the spring mechanism isn’t reaching its full calibration depth. This happens most often because you stop applying pressure too early. The tamper spring begins compressing partway through the motion, and many people assume they should stop there. You must continue pressing until the tamper bottoms out completely.
The soft puck problem usually indicates under compression. Your coffee grounds need maximum density to extract properly. When you release pressure as soon as the spring starts moving, the puck remains loose. This causes water to channel through weak spots instead of flowing evenly through the coffee bed.
Start by checking your tamping technique. Place your tamper gently on the coffee surface first. Make sure it sits level and parallel to your portafilter. Then apply steady, consistent downward pressure. Keep pressing until you feel the tamper stop moving completely. That stopping point is your calibration limit, not the beginning of spring compression.
If you’re pressing to full depth and still getting soft pucks, residue buildup could be the culprit. Coffee oils and fine particles accumulate on your tamping surface and spring mechanism. This buildup reduces spring tension and prevents proper compression. Wipe your tamping surface daily with a clean, dry cloth. Check the spring housing weekly for any visible debris.
Another cause is inconsistent grind distribution before tamping. Use the Weiss Distribution Technique or a distribution tool to break up clumps and level your grounds. Uneven grounds compress differently across the puck, creating soft spots.
Test your fix by brewing a few shots and observing extraction time. A properly compressed puck should produce consistent water flow. If your shots run too fast, your puck is still too soft. If shots run too slow, you may be over compressing. Adjust your technique slightly and test again until you find the sweet spot.
Final Thoughts
Fixing an automated espresso tamper spring is simpler than it looks. Most problems come from small habits, not big mechanical failures. Once you know what to check, you can solve issues fast.
Consistency is the real secret here. Your spring needs the same pressure, the same angle, and the same depth every single time. Small changes create big problems in your cup.
Remember the correct sequence. Grind, distribute, tamp, check, brew. Skipping steps or rushing through them causes most compression troubles you will face.
Always press until the tamper bottoms out. Stopping early, right when the spring starts compressing, is a common error. Full calibration depth matters for a dense, even puck.
Keep your tamping surface clean daily. Buildup on the base changes how your spring reacts under pressure. A quick wipe prevents most soft puck complaints.
Check your calibration settings often. Springs drift over time with regular use. A quick weekly check keeps your shots consistent and your mechanism healthy.
Watch your leveling before every tamp. An uneven surface forces the spring to compress at an angle. This creates channeling and weak extraction in your espresso.
Test your fixes with real shots. Brew a few espressos and watch the extraction time closely. This tells you if your adjustments actually worked.
Good maintenance beats constant repairs. A little care each day protects your tamper spring for years. You avoid costly replacements this way.
Fixing spring compression issues is not complicated once you understand the basics. Technique, cleaning, and calibration checks solve almost every problem you will encounter. Stay consistent, stay patient, and your espresso will reward you with better shots every time.
Frequently Asked Questions
Why does my espresso puck still feel soft even after I press down hard?
A soft puck usually means you’re not reaching full calibration depth. Press until the tamper bottoms out completely. Many people stop when they feel spring resistance, but that’s incorrect. You must continue applying pressure until the tamper reaches its preset limit. Also check your grind distribution before tamping. Uneven grounds compress differently and create soft spots in your puck.
How much pressure should I apply when using an automated tamper?
You don’t need to guess. Apply consistent, steady pressure straight down until the tamper stops moving. The calibrated depth limit does the work for you, not your arm strength. Place the tamper gently on the coffee surface first. Then press with even force until it bottoms out. This simple approach removes guesswork from your routine.
What causes uneven compression or channeling during tamping?
Angled tamping is the main culprit. Keep your tamper perfectly level and perpendicular to the portafilter. Inconsistent grind distribution before tamping also causes problems. Use the WDT method to break up clumps and spread grounds evenly. Then tamp straight down without tilting or twisting the handle.
Can residue buildup affect how my spring compresses?
Yes, it directly impacts performance. Dried espresso residue on your tamping surface prevents the spring from reaching full compression depth. Wipe your tamping surface daily to remove buildup. This simple habit keeps your spring functioning at peak performance and prevents extraction issues.
How often should I test my tamper’s calibration?
Check calibration settings regularly, at least once weekly. Run a test tamp on an empty portafilter to feel how far the spring travels. This quick check catches calibration drift early before it affects your shots.

Hi, I’m Rue Hessel, the founder and voice behind TheGenTool. I’m a passionate tech enthusiast who loves exploring the latest gadgets, smart devices, and electronics that shape our everyday lives. Through my website, I share honest, hands-on reviews of trending Amazon products to help you make smarter and more confident buying decisions.