How to Repair a Cracked Back Glass Panel on a Modern Smartphone?
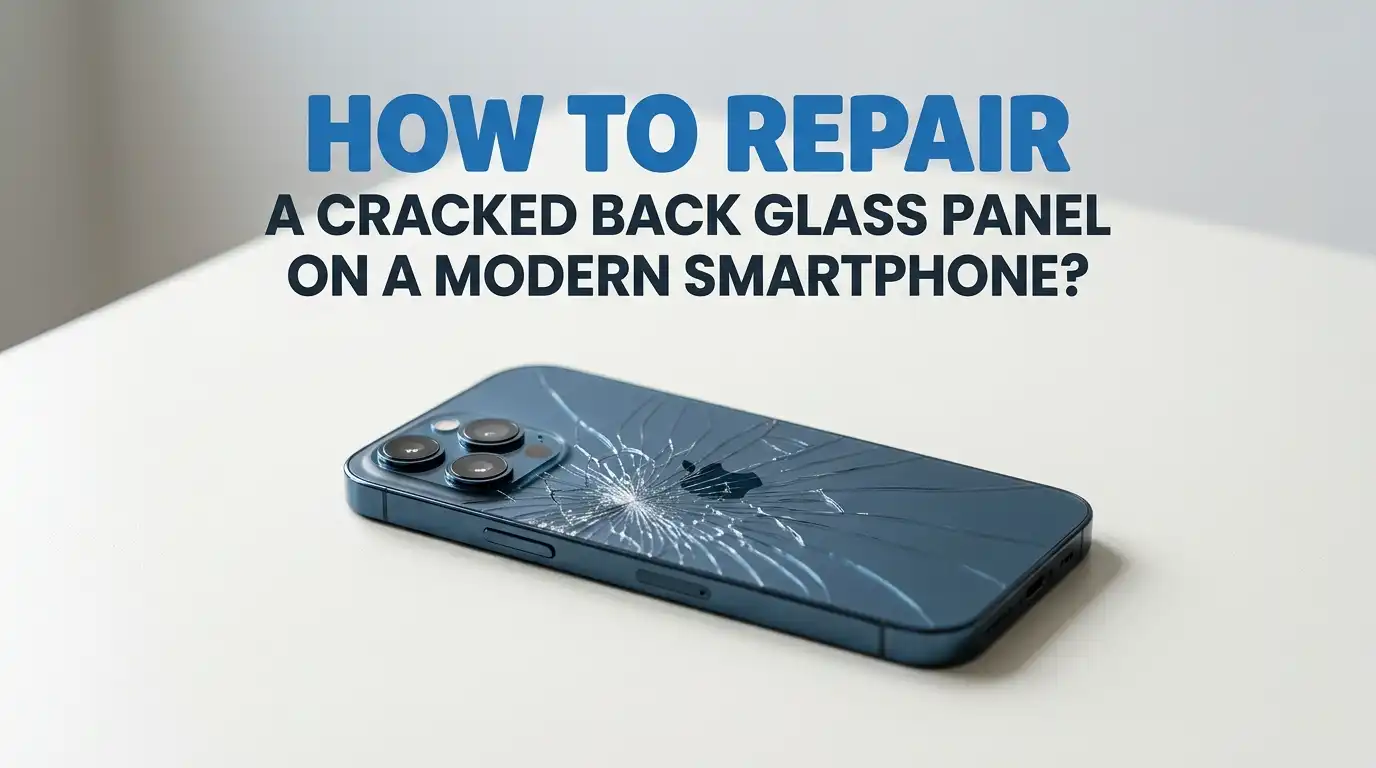
A cracked back glass panel turns a shiny phone into a sharp, ugly mess. You hate seeing those spider web cracks every time you flip your phone over.
Worse, the sharp edges can cut your fingers, snag your pockets, and let dust slip inside the device. You may also worry about the wireless charging coil or the camera lens sitting just under that broken glass.
The good news is that you can fix it. Some fixes are cheap and quick. Others need patience, heat, and steady hands. This guide walks you through every option, from quick patches to full glass swaps.
Key Takeaways
- Stop the damage first. A clear case or a layer of clear nail polish keeps small cracks from spreading and protects your fingers from sharp shards.
- DIY repair saves money but carries risk. A full back glass swap at home costs thirty to seventy dollars in parts, but heat, pry tools, and adhesive can break the wireless charging coil or NFC antenna.
- Professional repair is safer for newer phones. Shops charge one hundred to three hundred dollars for most modern phones, while the maker itself can charge four hundred to six hundred dollars for top tier models.
- Heat is the key tool. Adhesive under the back glass softens at around forty to fifty degrees Celsius. A heating pad, hair dryer, or low setting heat gun does the job.
- Back up your phone first. Any repair can fail. Always back up photos, contacts, and apps before you open the device.
- Check your warranty before opening the phone. Some makers void the warranty the moment you break the seal, even if the repair works.
Why the Back Glass on Modern Phones Cracks So Easily
Modern phones use glass on the back for a clean look and for wireless charging. Glass lets the charging signal pass through, while metal would block it. But glass is brittle. Even tough glass like Gorilla Glass Victus can shatter from a short drop onto a hard floor.
The back panel sits flat against the frame, so the corners take most of the force during a fall. A tiny chip on the corner often spreads into long cracks across the whole panel within days. Temperature changes also make cracks grow faster.
Why this matters: Once the glass is broken, water and dust can creep inside. The phone may lose its water resistance rating. Cracks near the camera lens can also blur your photos.
How to Decide If You Should Repair It Yourself or Visit a Shop
Start by asking three questions. How old is the phone? How much is it worth today? How confident are you with small tools?
If your phone is two or more years old and worth less than two hundred dollars, a DIY fix or a cheap shop repair makes sense. If your phone is brand new and still under warranty, take it to the maker or an authorized repair center. Opening it yourself can void coverage.
Pros of DIY: You save money. You learn a useful skill. You control the timing.
Cons of DIY: You risk breaking the camera, the wireless charging coil, or the frame. You may void the warranty. Parts shipping takes days.
Think honestly about your comfort level before you start.
Quick Fix Method One: Clear Tape or Screen Protector Patch
This is the fastest and cheapest fix. You will not make the phone look new, but you will stop the cracks from spreading and protect your fingers. Clear packing tape or a back skin film both work well.
Clean the back with a soft cloth and a tiny bit of rubbing alcohol. Let it dry fully. Cut the tape or film to match the back panel shape. Press it down from the center outward to push out air bubbles. Trim the edges with a sharp blade.
Pros: Costs almost nothing. Takes five minutes. No tools needed.
Cons: Looks cheap. Tape peels at the corners over time. Does not fix wireless charging issues if the coil is damaged. Best as a short term fix while you save up for a real repair.
Quick Fix Method Two: Clear Nail Polish or Super Glue
Clear nail polish fills tiny cracks and seals the surface. It also stops small chips from flaking off. Many Reddit users swear by this trick for hairline cracks. Super glue works on bigger gaps but leaves a visible line.
Wipe the back clean. Apply a thin layer of clear nail polish across the cracks. Let it dry for fifteen minutes. Add a second coat if needed. Do not let the polish drip into the camera lens, charging port, or speaker holes.
Pros: Very cheap. Easy to apply. Adds a small shine that hides cracks.
Cons: Not a real repair. Can yellow over time. May not survive heat or sunlight. Tough to remove later if you decide to swap the glass.
Quick Fix Method Three: Slap on a Solid Case
Sometimes the smartest fix is to hide the damage. A thick silicone or rugged case covers the back glass fully. The case holds the cracked pieces in place and stops more damage from drops.
Pick a case that wraps around the edges and has a raised lip on the back. This keeps the cracked glass from touching the table when you set the phone down. Avoid clear cases unless you want the cracks on display.
Pros: Instant fix. Costs ten to thirty dollars. Adds drop protection. No risk to the phone.
Cons: Adds bulk. Cracks are still there under the case. Sharp glass shards can still cut you when you remove the case. Water resistance is still broken.
Quick Fix Method Four: Vinyl Skin or Wrap
A vinyl skin sticks to the back of the phone and gives it a fresh look. Skins come in carbon fiber, leather, wood, and bright colors. They also hide cracks completely while adding light grip.
Heat the skin gently with a hair dryer as you apply it. This helps the vinyl bend around curved edges and stretch over the camera bump. Use a credit card or squeegee to push out air bubbles.
Pros: Looks great. Many style choices. Easy to remove later. Adds a tiny layer of protection.
Cons: Does not fix the glass. Skins peel if the cracks are deep. Wireless charging may feel slightly weaker through thick skins. Costs ten to twenty dollars.
Full Repair Method: DIY Back Glass Replacement Step by Step
This is the real fix. You buy a new back glass panel, remove the broken one, and stick the new one on. The job takes one to three hours. You need patience and a clean workspace.
First, power off the phone and remove the SIM tray. Heat the back panel evenly with a heating pad set to forty to fifty degrees Celsius for two to three minutes. The adhesive softens. Slide a thin pry pick or guitar pick into a corner and slowly cut around the edge.
Lift the old glass off. Be careful near the wireless charging coil and the camera lens. Scrape off old adhesive with a plastic tool. Apply new adhesive strips or B7000 glue around the frame. Press the new glass on and clamp it for at least thirty minutes.
Tools and Parts You Need for the DIY Job
Gather everything before you start. Running off mid repair to find a tool can ruin the job. You will need a heating pad or low setting hair dryer, a set of guitar picks or pry tools, a suction cup, a plastic spudger, and tweezers.
You also need the replacement back glass panel made for your exact phone model. Buy one with the adhesive pre cut, or buy a separate adhesive sheet. Isopropyl alcohol above ninety percent helps clean off old glue.
Pros of buying a full kit: Everything matches. Cheaper as a bundle. Less guesswork.
Cons: Cheap kits often have weak tools. The included adhesive may not seal water out. Quality varies a lot between sellers, so read reviews before you buy.
Safety Tips Before You Open Your Phone
Phone repair feels like surgery. Treat it that way. Work in a well lit space on a flat table. Wear safety glasses because tiny glass shards can fly when you pry the panel.
Put on thin nitrile gloves to protect your fingers. Keep a bowl of water nearby in case the battery is punctured and starts to smoke. Never pry near the battery. A bent or pierced lithium battery can catch fire fast.
Back up your phone to the cloud or a computer before you start. Power off the phone fully. Discharge the battery to below fifty percent to lower fire risk. Keep small screws in a magnetic tray so you do not lose them.
What to Do If Wireless Charging Stops Working
Sometimes the back glass repair goes well but wireless charging suddenly fails. This usually means the wireless charging coil got damaged during the swap. The coil sits right under the glass and is glued to the inside of the back panel on many models.
Check if your replacement glass came with a new coil attached. If not, you may need to peel the coil from the old glass and stick it to the new one. Use low heat and a plastic tool to avoid tearing the thin copper.
If the coil is torn, you can buy a replacement coil for ten to twenty dollars. Solder skills help here. If you are not comfortable with soldering, a repair shop can fit a new coil for thirty to fifty dollars.
When to Skip DIY and Pay a Professional
Some repairs are just not worth the risk. If your phone is a current flagship, think twice before opening it. The Samsung Galaxy S series, the Pixel Pro line, and recent iPhones have tight tolerances and tricky internal layouts.
A pro shop has heat plates, laser machines that cut glass off without tools, and trained hands. They finish the job in one to two hours. Costs run from one hundred to three hundred dollars at local shops, and four hundred to six hundred dollars at the maker for high end models.
Pros of pro repair: Fast. Clean result. Often includes a short warranty. Keeps water resistance better than DIY.
Cons: More expensive. You hand over your phone and data for a few hours. Quality varies between shops, so check reviews first.
How to Prevent Back Glass Damage in the Future
Once your phone is fixed, protect it. The cheapest insurance is a good case with raised edges and a soft inner lining. Add a back skin or tempered glass back protector for extra defense against scratches and small drops.
Avoid placing your phone face up or face down on hard tables. Use a pocket or a soft pouch. Keep your phone away from keys and coins that can chip the glass. A pop socket or ring grip lowers the chance of dropping it.
Tip: If you live in a cold area, let your phone warm up before going outside. Sudden temperature shifts make glass more likely to crack. Check phone insurance plans if you drop your phone often.
Frequently Asked Questions
How much does it cost to replace a back glass panel?
DIY parts cost between thirty and seventy dollars for most modern phones. Local repair shops charge one hundred to three hundred dollars, depending on the model. The phone maker itself often charges four hundred to six hundred dollars for high end flagships, since they replace the full back housing.
Can I still use my phone with a cracked back glass?
Yes, you can use it. But the sharp edges can cut your fingers, dust can enter the phone, and the device loses its water resistance. Wireless charging may also feel slower or stop working if cracks reach the charging coil area.
Does a cracked back affect wireless charging?
A small crack usually does not stop wireless charging. Deep cracks across the center of the back can break the charging coil or block the signal. If charging speeds drop, the coil under the glass may be damaged.
Will Apple or Samsung fix back glass under warranty?
Standard warranties do not cover accidental damage. AppleCare Plus, Samsung Care Plus, and similar plans cover back glass repair for a small fee, often twenty nine to ninety nine dollars. Without a plan, you pay the full repair price.
How long does a DIY back glass repair take?
Most home repairs take one to three hours for a first timer. Experienced repairers finish in under an hour. Add another thirty minutes for the new adhesive to cure before you use the phone normally.
Is it safe to leave a cracked back glass unrepaired?
It is safe in the short term if you cover the cracks with a case or tape. Long term, dust and moisture can damage internal parts. Sharp shards can also cut you or fall out and leave gaps. Fix it within a few months for best results.

Hi, I’m Rue Hessel, the founder and voice behind TheGenTool. I’m a passionate tech enthusiast who loves exploring the latest gadgets, smart devices, and electronics that shape our everyday lives. Through my website, I share honest, hands-on reviews of trending Amazon products to help you make smarter and more confident buying decisions.