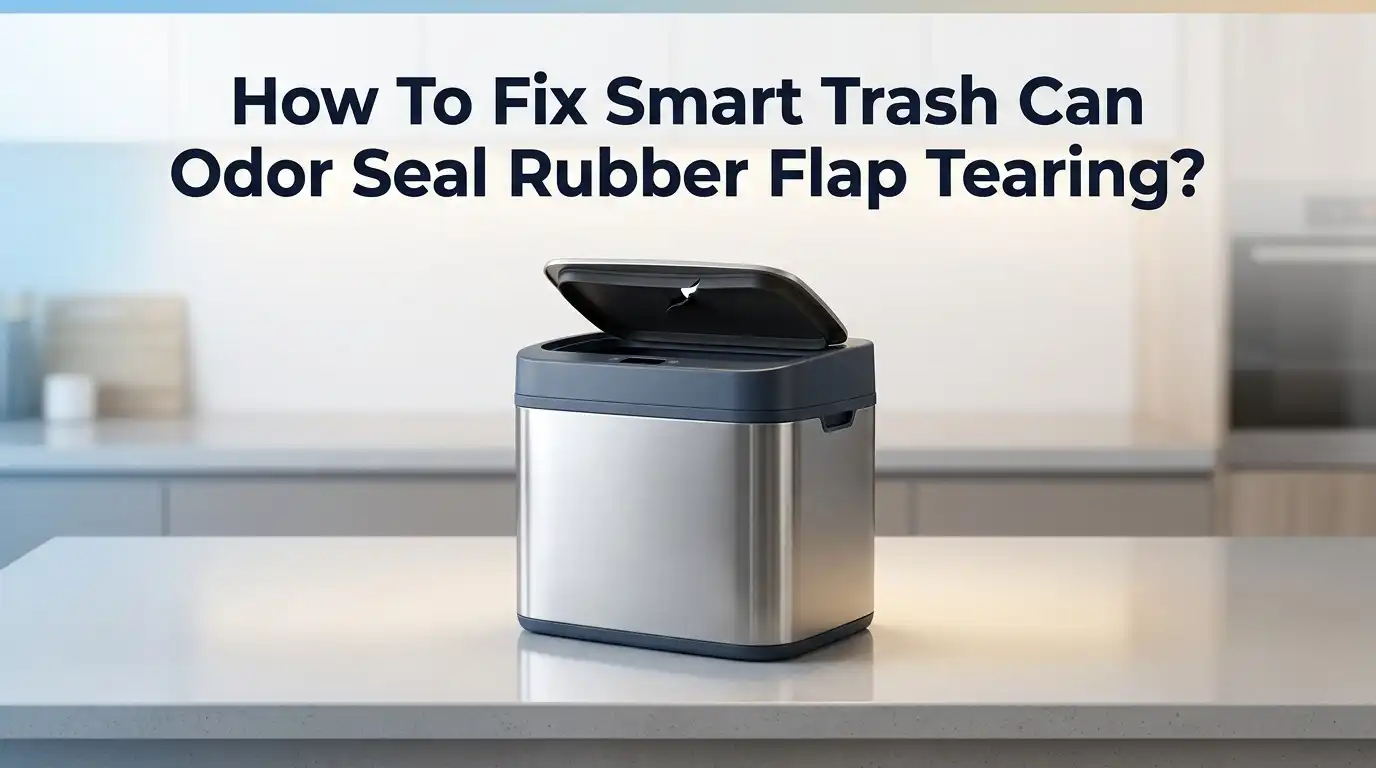
How To Fix Smart Trash Can Odor Seal Rubber Flap Tearing?
Your smart trash can makes life easier. It opens with a wave and seals in smells like magic.
But then you notice it. A weird odor sneaks out. Or the lid does not close all the way anymore.
The culprit is often small but annoying. That rubber flap or odor seal starts tearing or losing its grip. This tiny part plays a huge role in keeping smells trapped inside.
The good news? You do not need to buy a whole new bin. Most odor seal problems come from simple issues. Think misaligned lids, dirty gaskets, or debris stuck in the hinges.
In a Nutshell
- Clean first, always. Wipe the inner bucket and lid with mild detergent. Dry every part completely before moving on.
- Check the lid seating. Your lid must sit flush against the can body. Any gap lets odors escape and stresses the rubber flap.
- Inspect the gasket alignment. A misaligned gasket causes uneven pressure. This pressure often leads to tearing over time.
- Clear hinges and tracks. Debris buildup in these spots stops the lid from closing properly. This forces the flap to work harder than it should.
- Avoid overfilling or compressing wet waste. Extra pressure on the lid strains the rubber seal. This speeds up wear and tear.
- Try a power reset. Turn the unit off for 30 seconds, then power it back on. This often fixes touchless sensor issues linked to seal problems.
Understanding the Odor Seal and Rubber Flap System
Your smart trash can’s odor seal system works through a simple but important design. The rubber flap acts as a barrier between your waste and the air outside your home. When this flap tears or fails, odors escape and your can loses its main benefit.
The odor seal rubber flap sits along the lid’s inner edge. It creates a tight seal when the lid closes completely. This flap presses against the can’s rim to block smells from rising up into your kitchen or bathroom. Most modern smart cans use flexible rubber or silicone materials for this seal because they last longer and resist wear.
The gasket is equally important as the flap itself. Your gasket is the rubber ring that helps the lid sit flush against the can body. Without proper gasket contact, the flap cannot seal effectively no matter how new it is. A misaligned gasket leaves tiny gaps where air and odors slip through.
The lid seating mechanism determines how well everything works together. When you close the lid, it must make full contact with the can body at every point. Even small gaps prevent the seal from working correctly. This is why debris in hinges or tracks causes seal failure so often.
Understanding these parts helps you fix problems faster. The flap, gasket, and lid seating all depend on each other. When one fails, the others cannot compensate. This is why cleaning and inspecting each component matters so much. Each part plays a specific role in keeping odors trapped inside where they belong.
Common Causes of Rubber Flap Tearing
Rubber flaps tear for several practical reasons. Understanding these causes helps you prevent future damage and fix the problem at its source.
Improper lid seating is the leading cause. When your lid doesn’t sit flush against the can body, uneven pressure builds on the rubber flap. One side bears more weight than the other. This creates stress points where tearing starts. Over time, the rubber weakens and splits.
Gasket misalignment compounds the problem. Your gasket is the rubber ring that creates a tight seal. If it shifts out of position, the flap cannot close evenly. The rubber stretches in some areas while bunching in others. This inconsistent tension causes material failure.
Debris in hinges and tracks prevents the lid from closing properly. Dust, food particles, and buildup block smooth movement. Your lid may close at an angle instead of straight down. The flap gets pinched or twisted during this uneven closure.
Overfilling and wet waste compression add excessive pressure. When you pack waste tightly or add heavy liquids, the lid struggles to seal. The rubber flap bears extra load it was not designed to handle. Repeated strain leads to tears and permanent damage.
Moisture accumulation weakens rubber over time. Wet conditions inside the can cause the material to soften and lose elasticity. The flap becomes brittle and tears more easily with normal use.
Age and material fatigue play a role too. Rubber degrades naturally after months of constant opening and closing. UV exposure and temperature changes speed up this breakdown.
Identifying which cause applies to your situation guides your repair strategy. Most issues stem from seating or alignment problems rather than manufacturing defects.
Step-by-Step Guide to Cleaning and Inspecting the Seal
Start by gathering what you need: mild dish detergent, warm water, soft cloths, and a dry towel. These basic items help you clean without damaging rubber components.
Begin with the inner bucket. Remove any trash and wipe down the interior walls with a damp cloth. Use mild detergent on stubborn spots, then rinse thoroughly with clean water.
Next, focus on the lid interior. Wipe the underside where the rubber flap attaches. Pay special attention to the gasket area, as debris here prevents proper sealing.
Dry everything completely. Moisture trapped under the rubber flap causes mold and weakens the seal. Use a dry towel and let components air dry for a few minutes.
Now inspect where the lid meets the can body. Press down gently on the lid and check if it sits flush all around. Look for gaps or uneven contact points.
Examine the gasket closely. Run your fingers along the rubber ring to feel for cracks, hardening, or flat spots. The gasket should feel slightly springy and uniform.
Check the hinges and lid tracks next. Wipe away any dust, food particles, or buildup. These areas often trap debris that prevents smooth lid closure.
Look at the rubber flap itself. Inspect for visible tears, peeling edges, or discoloration. Small tears may be repairable, while large ones indicate replacement is needed.
Finally, manually open and close the lid several times. Notice if it moves smoothly or sticks at any point. Smooth operation suggests the seal components are properly aligned.
Document what you find during inspection. This information helps you decide whether cleaning alone fixes the issue or if further action is necessary.
How to Reseat and Realign the Gasket for a Flush Fit
When your lid doesn’t sit flush against the can body, the gasket loses its seal. This is where realignment happens. Start by manually opening the lid and looking at how it closes. The lid should make even contact all the way around the can’s rim.
Check if the gasket sits evenly in its groove. Run your fingers along the rubber ring to feel for twists, bunching, or gaps. If you spot misalignment, gently lift the gasket out of its channel. Clean the groove thoroughly with a dry cloth to remove dust and debris.
Reseating the gasket takes patience. Start at one corner and press the rubber ring firmly back into its groove. Work your way around the entire lid, pressing down as you go. Make sure the gasket sits flat with no lumps or folds.
Once the gasket is seated, close the lid slowly. Listen for a soft seal sound. The lid should feel snug but not forced. If it still feels loose, open it again and check for any spots where the gasket popped out.
Test the fit by looking at the gap between the lid and can. There should be no visible space. If you see light coming through, the gasket needs more pressure in that area.
Verify that hinges move freely. Stiff hinges prevent the lid from seating properly. If hinges feel tight, apply a small amount of lubricant designed for metal parts.
Close the lid several times to confirm consistent contact. Each closing should feel the same. This confirms your gasket realignment worked correctly.
Clearing Debris From Hinges and Lid Tracks
Debris buildup in hinges and lid tracks stops your trash can lid from closing properly. This prevents the rubber flap from seating flush against the can body, which breaks the odor seal.
Start by opening the lid fully and looking at both hinges on the sides. You’ll see small grooves and crevices where dirt collects. Use a dry cloth to wipe away loose debris first. Don’t use water yet, as moisture can cause rust on metal hinges.
Next, inspect the lid tracks where the lid slides when opening and closing. These tracks run along the top edges of the can. Debris, food particles, and dust accumulate here regularly. Wipe these tracks thoroughly with a dry cloth, paying attention to corners and crevices.
For stubborn buildup, use a soft brush or old toothbrush to gently scrub the hinges and tracks. Move the brush in the direction of the grooves to push debris out. Avoid harsh scrubbing that might damage plastic components.
After removing dry debris, dampen your cloth slightly with warm water and mild detergent. Wipe the hinges and tracks again to remove any remaining residue. This step removes sticky buildup that dry wiping missed.
Dry everything completely before closing the lid. Any moisture left behind can cause rust or mold growth inside the hinges.
Once clean, open and close the lid several times slowly. Listen for any grinding sounds or resistance. Smooth movement means the hinges are clear. If you still hear clicking or grinding, repeat the cleaning process.
Clean hinges and tracks every two to three weeks to prevent seal problems from returning. This simple maintenance keeps your odor seal working effectively and extends the life of your rubber flap.
Performing a Power Reset to Restore Touchless Function
A power reset clears temporary glitches that stop your touchless lid from opening automatically. This simple fix often restores normal function without requiring repairs to the rubber flap itself.
Start by locating the power source for your trash can. Most smart models plug into a wall outlet or use a battery compartment. If your can uses batteries, open the compartment and remove them completely. Wait exactly 30 seconds. This pause lets the internal circuits fully discharge and reset.
For plug in models, unplug the can from the outlet. Count to 30 slowly. This timing matters because the system needs time to clear its memory. After 30 seconds, plug the can back in or reinsert the batteries.
Now test the touchless sensor. Wave your hand in front of the sensor area. The lid should begin opening within one to two seconds. If nothing happens, repeat the reset process one more time.
During the reset, avoid pressing any buttons on the lid or can body. Let the system restart completely on its own. Once power returns, the can should recalibrate its sensors automatically.
A successful reset restores the touchless function and often improves seal performance too. When the lid opens and closes smoothly, the rubber flap seats better against the can body.
If the lid still won’t open after two reset attempts, check that your power source works. Plug another device into the same outlet to verify electricity flows. A power reset takes only minutes but solves many common issues. This step costs nothing and requires no tools or replacement parts.
Tips to Prevent Future Tearing and Extend Seal Life
Your rubber flap stays healthy when you follow simple daily habits. Avoid overfilling your trash can because excess waste pushes against the seal and creates stress on the rubber. Keep the lid from slamming shut by closing it gently each time. Hard impacts wear down the gasket faster than normal use.
Moisture causes rubber to deteriorate quickly. Dry wet waste before placing it in the can whenever possible. If liquids drip inside, wipe them up promptly with a clean cloth. Standing water promotes mold growth and weakens the rubber material over time.
Check your lid alignment once a week. Open and close the lid slowly to watch how it seats. A lid that sits unevenly puts pressure on one side of the gasket. This uneven stress causes tears to develop in weak spots. Adjust the lid position if you notice gaps on one side.
Clean the rubber flap itself every two weeks with mild soap and water. Dry it completely afterward. Dirt and debris can scratch the surface and create entry points for tears. A clean flap resists damage better than a dirty one.
Keep the hinges and tracks free of debris. Buildup forces the lid to close at odd angles, which stresses the seal. Regular cleaning prevents this misalignment problem before it damages your rubber.
Store your trash can away from direct sunlight when possible. UV rays break down rubber materials and cause brittleness. If your can sits outside, consider placing it in a shaded area or under a covered porch.
These prevention steps add years to your odor seal’s life and keep your trash can working reliably.
Common Mistakes to Avoid When Repairing the Seal
Many people damage their rubber flap while trying to fix it themselves. The most common mistake is forcing the gasket back into place without cleaning first. Dirt and debris get trapped underneath, preventing a proper seal from forming.
Another frequent error involves skipping the drying step after cleaning. You wash the lid and rubber flap, then immediately close everything up while still wet. Moisture trapped inside accelerates rubber degradation and creates new odor problems within days.
People often ignore debris in the hinges and tracks when focusing only on the rubber flap itself. A dirty hinge prevents the lid from sitting flush against the can body. When the lid doesn’t seal completely, air leaks in and odors escape, even if the rubber flap is perfect.
Overfilling your trash can puts excessive pressure on the seal. The rubber flap stretches beyond its normal position and tears more easily. Keep your can filled only three quarters full to protect the seal from strain.
Don’t compress wet waste or liquids into the bottom of your can. Excess moisture softens the rubber and weakens its grip. Liquid also drips onto the gasket contact points and prevents a tight seal.
Many people also fail to inspect the lid’s contact surface on the can body itself. This area can develop dents or warping that stop the lid from closing evenly. Check this surface during cleaning to spot any damage.
Finally, avoid using harsh chemicals or rough scrubbing on the rubber flap. Aggressive cleaning damages the material faster than normal wear. Stick with mild soap and soft cloths only.
Final Thoughts
Fixing a torn odor seal does not have to feel overwhelming. Most problems come from simple causes like debris, moisture, or misalignment.
Regular cleaning solves many issues before they start. A few minutes each week keeps your rubber flap in good shape.
Remember that your trash can’s touchless function and odor seal work together. Fixing one often improves the other.
If you notice the lid struggling to open, always check for obstructions first. A quick power reset clears most electrical glitches.
Small habits make a big difference. Wipe down the flap regularly and keep hinges free of dirt. This prevents tearing before it happens.
Avoid overfilling your can or forcing wet waste inside. Extra pressure on the seal speeds up wear and tear.
When you inspect your trash can, look closely at the lid’s contact surface. Even minor misalignment can cause odor leaks over time.
Patience helps during repairs. Rushing through cleaning or reseating steps often leads to mistakes. Take your time to dry every part completely.
If tearing continues despite your best efforts, the rubber flap may need replacing. This is normal after months of daily use.
Think of seal maintenance as routine care, similar to cleaning any kitchen appliance. Consistency keeps your trash can working smoothly.
Your effort now saves you bigger headaches later. A well maintained seal blocks odors and keeps your kitchen fresh.
Stay consistent, stay patient, and trust the process. Your smart trash can will reward you with reliable, odor free performance for years to come.
With these simple steps, you can handle most seal issues on your own. Regular care goes a long way toward keeping your trash can working like new.
Frequently Asked Questions
Why does my odor seal rubber flap keep tearing even after I repair it?
Tearing often happens because the underlying cause wasn’t fixed. Check if your lid sits flush against the can body. When the lid doesn’t seal properly, it creates stress on the rubber flap during opening and closing cycles.
Debris in hinges and tracks can prevent proper lid alignment. Clear out any dirt, hair, or waste particles blocking these areas. Also inspect whether you’re overfilling your trash can, as this puts excessive pressure on the seal.
How do I know if my gasket needs reseating?
Your gasket may need reseating if odors escape even when the lid closes. Gently open the lid and look at where the rubber flap meets the can body. You should see it sitting evenly all around.
If gaps appear or the flap looks twisted, it’s time to reseat it. Remove the gasket carefully, clean both surfaces with mild soap and water, then dry completely. Press it back into place firmly, ensuring it sits flush on all sides.
Can I fix the odor seal without replacing the entire lid?
Yes, most odor seal problems don’t require a full lid replacement. Start by cleaning the inner bucket and lid interior thoroughly. Dry everything completely, as moisture prevents proper seating.
Check the rubber flap itself for debris or buildup. Clean it gently with mild soap and water. Then perform a power reset by turning off your trash can for 30 seconds and powering it back on.
What should I do if the lid won’t open after I clean it?
First, check for obstructions blocking the lid’s path. Remove any visible debris from hinges and tracks. Manually push the lid open gently to see if something is stuck.
If it still won’t open, perform a power reset. Turn off the trash can for 30 seconds, then power it on again. This often resolves touchless mechanism issues.

Hi, I’m Rue Hessel, the founder and voice behind TheGenTool. I’m a passionate tech enthusiast who loves exploring the latest gadgets, smart devices, and electronics that shape our everyday lives. Through my website, I share honest, hands-on reviews of trending Amazon products to help you make smarter and more confident buying decisions.