How To Fix Robotic Mop Clean Water Tank Valve Dripping?
A dripping clean water tank valve can turn your robotic mop into a messy problem. You expect it to clean your floors, not leave puddles behind.
This issue is common, and it’s usually simple to fix. Most causes come down to a seal, a clog, or a valve that isn’t seating right.
In this guide, we will walk through the exact reasons your robotic mop drips clean water. You will learn how to check the tank seal, clean the outlet nozzle, and test the one way valve at the bottom of the tank.
In a Nutshell
- Stop the robot first. Always pause your mop before you check the tank. This keeps you safe and stops more water from leaking out.
- Check the tank seal. A loose or twisted seal is often the cause. Take the tank out and seat the seal again properly.
- Don’t overfill the tank. Filling past the max line puts pressure on the valve. This pressure forces water to drip out.
- Clean the water outlet nozzle. Dried residue or dirt can clog the nozzle. A clean cloth or small brush clears this easily.
- Test the one-way valve. Use a small screwdriver to gently depress the valve at the tank bottom. This checks if water flows the way it should.
- Prime the pump if water won’t dispense. Run the flush cycle for 10 to 15 seconds. This clears air bubbles and gets water flowing again.
- Lower the water flow setting. Your app lets you reduce flow. A lighter setting often stops drips completely.
Why Your Robotic Mop’s Water Tank Valve Drips
Your robotic mop’s clean water tank valve drips for several specific reasons. Understanding these causes helps you fix the problem quickly.
Improper seal seating is the most common culprit. The tank seal must sit perfectly in its groove. When you install or refill the tank, the seal can twist or shift slightly. This tiny misalignment creates a gap where water escapes. Even a quarter turn of the seal causes dripping.
Overfilling the tank puts excessive pressure on the valve mechanism. The clean water tank has a maximum fill line for a reason. When you exceed this line, water pressure builds up inside. This pressure forces water past the valve seal, causing constant drips or small leaks during operation.
Internal valve failure happens when the one-way valve wears out or gets stuck. This valve controls water flow from the tank to the mop head. If it fails to close completely, water drips even when the mop isn’t actively cleaning.
Clogged water outlets can cause backup pressure inside the tank. Dried cleaning solution or mineral deposits block the nozzle. Water then finds an alternate path out through the valve seal, resulting in dripping.
Dirty water tank residue sometimes transfers to the clean water system. If your dirty tank has heavy buildup, small particles can contaminate the clean water circuit. These particles lodge in the valve, preventing a tight seal.
Pump priming issues occur when air gets trapped in the water lines. An unprimed pump creates irregular pressure, which makes the valve leak intermittently.
Each of these problems has a straightforward fix. Identifying which issue affects your mop determines your next troubleshooting step.
Before You Start: Safety and Prep Steps
Before you start fixing your robotic mop’s dripping valve, take a few important safety and prep steps. These actions protect you, your mop, and your flooring.
First, power off your robotic mop completely. Unplug it from the outlet or turn off the power switch. This prevents accidental water spray or motor activation while you work. Never troubleshoot an active machine.
Next, remove the clean water tank from the mop. Most tanks slide out or twist counterclockwise. Place the tank on a flat, dry surface like a kitchen counter or bathroom sink. This gives you space to inspect and work without spilling water on your floors.
Gather your tools before you begin. You will need a small screwdriver (typically Phillips head), clean towels, and a bucket or sink nearby. Keep paper towels handy for water spills. Having everything ready saves time and frustration.
Check your work area for good lighting. The valve mechanisms are small, and you need to see clearly. Use a flashlight or work near a window if your indoor lighting is dim.
Wear old clothes or an apron. Water will spill during this process. You don’t want to stain your favorite outfit.
Empty the tank completely before inspection. Pour any remaining water into a sink or bucket. A dry tank is much easier to examine, and you avoid water splashing on yourself or nearby surfaces.
Let the tank sit for a few minutes. This allows any remaining moisture to drip out naturally. You’re now ready to move forward with your troubleshooting steps.
Step-by-Step: Fixing a Dripping Clean Water Tank Valve
Now that you have prepared your workspace and gathered your tools, you are ready to fix the dripping valve. Follow these steps in order for the best results.
Step 1: Inspect the Tank Seal Carefully
Remove the clean water tank completely from your robotic mop. Look at the rubber seal around the tank opening. The seal must sit flat and centered. Twist the seal gently to ensure it is positioned correctly. A twisted or misaligned seal is often the culprit behind dripping.
Step 2: Clean the Water Outlet Nozzle
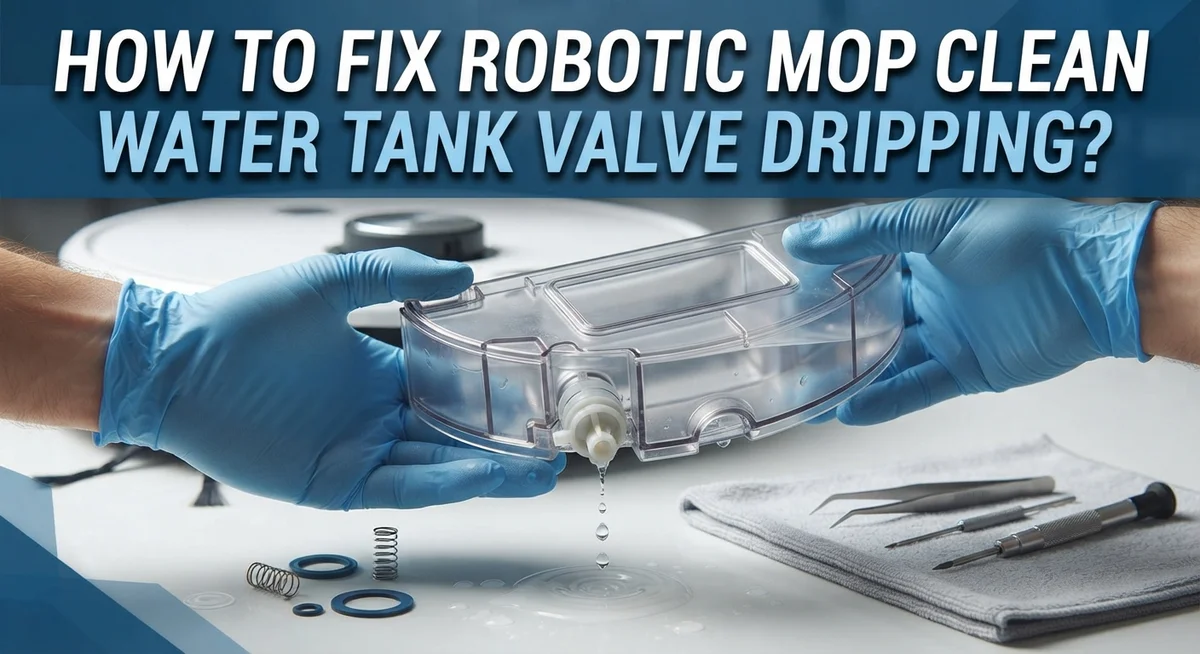
Locate the small nozzle where water exits the tank. Use a small screwdriver to gently clear any dried residue or mineral buildup. Dried water can block flow and cause pressure to build up inside the tank. Rinse the nozzle under warm water until it runs clear.
Step 3: Test the One Way Valve
Find the one way valve at the bottom of your tank. Use your screwdriver to gently depress this valve. Water or air should flow out smoothly. If nothing happens, the valve may be stuck or failed.
Step 4: Prime the Water Pump
Reattach the clean water tank to your mop. Run the flush cycle for 10 to 15 seconds to push air out of the water lines. This priming step removes air pockets that can cause irregular water flow.
Step 5: Adjust Water Flow Settings
Open your mop’s app and reduce the water flow setting. Lower flow reduces pressure on the valve seal. Start with a medium setting and increase only if needed.
Step 6: Refill and Test
Fill the clean water tank only to the maximum line. Never overfill. Run a short cleaning cycle and watch for dripping. The valve should now seal properly.
How to Prime the Water Pump and Test the One-Way Valve
Priming your water pump removes air bubbles trapped in the lines. Air pockets stop water from flowing smoothly and cause dripping issues.
Here’s how to prime the pump properly. First, reattach your clean water tank to the robotic mop. Make sure the tank sits completely into place and locks securely. Fill the tank with fresh water up to the maximum line. Do not overfill past this mark.
Next, locate the water outlet nozzle on your mop. This is where water exits during cleaning cycles. Hold a towel underneath the nozzle to catch water. Press and hold the manual water dispense button on your mop or app for 10 to 15 seconds. You will see water start flowing from the nozzle.
Continue holding the button until the water stream runs smoothly. Sputtering or irregular flow means air is still in the lines. Keep pressing until you get a steady, continuous stream. This indicates all air has escaped from the pump system.
Now test the one way valve at the tank bottom. Use a small screwdriver to gently depress the valve. You should feel it click down and pop back up. Push it several times to ensure it moves freely. A stuck valve won’t open and close properly, causing dripping.
Water should flow out when you depress the valve. If nothing happens, the valve is blocked and needs cleaning. If water flows backward instead of forward, the valve is failing and requires replacement.
After priming, run a short cleaning cycle on a test area. Watch the nozzle for steady water dispensing. The dripping should stop if the pump is now properly primed and the valve functions correctly.
Adjusting Water Flow Settings to Prevent Dripping
Water flow settings play a key role in stopping your robotic mop from dripping. Too much water pressure forces liquid past the valve seal, causing constant leaks. Reducing the flow rate is one of the easiest fixes you can try first.
Open your mop’s mobile app and locate the water flow or water volume settings. Most models offer options like low, medium, and high. Start by switching to the lowest setting available. This reduces pressure on the valve and often stops dripping immediately.
Run a short test cycle on a small floor area. Watch the nozzle carefully as the mop operates. If dripping continues, the issue likely involves the valve seal or internal components rather than flow rate alone.
Some apps let you adjust flow in percentage increments instead of preset levels. If yours does, try setting it to 30 or 40 percent of maximum capacity. This gentler approach protects your valve while still providing enough water for cleaning.
Check your mop’s manual for recommended flow settings based on your floor type. Hard floors typically need less water than tile or grout lines. Using appropriate settings for your surface prevents unnecessary pressure buildup.
If reducing flow stops the dripping, keep your setting at this lower level going forward. Your mop will still clean effectively, and your valve will experience less stress. This simple adjustment extends the life of your tank components significantly.
Remember that flow settings work best when combined with proper tank seating and clean nozzles. If dripping persists even at the lowest setting, return to checking your seal and outlet for blockages.
Cleaning and Maintaining the Water Tank and Outlet Nozzle
Your robotic mop’s water tank and outlet nozzle need regular attention to prevent dripping problems. These components work together to deliver water smoothly during cleaning cycles.
Start by removing the clean water tank from your mop. Inspect the entire tank for visible cracks or damage. Even small fractures cause persistent leaking. Check the rubber seal around the tank opening carefully. The seal must sit flat and centered. Dirt or debris prevents a tight fit. Wipe the seal with a clean, damp cloth and dry it completely.
Next, focus on the outlet nozzle where water exits. This small opening clogs easily from mineral deposits and dried cleaning solution. Use a soft brush or cloth to wipe away any visible residue. If the nozzle feels blocked, soak it in warm water for a few minutes. Gently clear any stubborn buildup with a small brush.
Clean your dirty water tank too. Bacteria and mold inside the dirty tank can affect the entire water system. Empty the tank completely and rinse it with warm soapy water. Use a bottle brush to reach interior corners. Rinse thoroughly until the water runs clear.
Check the sponge filter inside your mop. A clogged filter restricts water flow and causes backup pressure. Remove the filter and rinse it under warm water. Squeeze gently to release trapped debris. Replace the filter if it appears worn or damaged.
Reassemble everything carefully. Make sure the clean water tank sits firmly in place. The tank should click or lock into position. Run your mop without cleaning solution first to test the system. Watch for any leaks during this test cycle. These maintenance steps keep your water system working properly.
Common Mistakes That Cause Ongoing Leaks
Overfilling your clean water tank is the most frequent error. Many users fill the tank completely to the brim without checking the maximum fill line. This excess pressure forces water through the valve seal, causing constant dripping even when the mop sits idle.
Not seating the tank properly creates another major problem. The tank seal must click or lock into place with a firm connection. If you simply place the tank loosely, water leaks around the seal edges during operation and while stationary.
Ignoring mineral buildup inside the valve assembly leads to seal failure over time. Hard water deposits accumulate inside the one way valve, preventing it from closing completely. Water then drips slowly through the partially blocked valve.
Failing to clean the water outlet nozzle allows dried residue to accumulate. This blockage creates backpressure inside the tank, forcing water to find alternate escape routes through the valve seal.
Using water flow settings that are too high stresses the entire water delivery system. High pressure continuously pushes against the valve seal, wearing it out faster and causing persistent dripping.
Leaving the tank attached to the mop for extended periods without use allows stagnant water to corrode internal valve components. The seal material degrades from prolonged water exposure.
Not inspecting the tank seal for visible cracks or warping is a costly mistake. A damaged seal cannot create a watertight fit, regardless of how properly you seat it.
Forgetting to stop the robot before troubleshooting means you might damage internal components or miss the actual leak source. Always power down completely before investigating dripping problems.
Troubleshooting Persistent Dripping and Dispensing Issues
When your robotic mop continues dripping despite your efforts, you need to focus on the valve system itself. The one-way valve at the tank bottom is often the culprit behind persistent water loss.
Start by stopping your mop completely. Locate the clean water tank and remove it from the device. Look at the tank’s bottom section where you’ll find a small valve mechanism. Using a small screwdriver, gently depress this valve to test water flow. Water should move through smoothly without resistance. If it doesn’t, mineral buildup or debris is blocking the internal passages.
Clean this valve area thoroughly with warm water. Let water run through it for 10 to 15 seconds to flush out any trapped particles. This simple priming action often resolves dripping issues caused by internal blockages.
Next, inspect the valve seat itself. This is where the seal makes contact to stop water flow. Look for visible damage, warping, or corrosion on this surface. Even small imperfections prevent the seal from closing completely, causing constant dripping.
If the valve seat appears damaged, you may need to replace the tank or valve assembly. However, many dripping problems resolve with cleaning alone.
Check your mop’s app settings one more time. Reduce your water flow setting to the lowest option available. This decreases pressure on the entire valve system and can stop dripping temporarily while you investigate further.
If dripping persists after these steps, the internal valve likely needs replacement. Contact your device manufacturer for guidance on obtaining the correct replacement part.
Final Thoughts
Fixing a dripping clean water tank valve does not have to be hard. Most problems come from simple causes like overfilling or a poorly seated seal.
Start with the easy fixes first. Check your tank seal, clean the outlet nozzle, and prime the pump before assuming your mop is broken.
Small maintenance habits make a big difference. Regularly cleaning your tank and nozzle prevents mineral buildup that leads to valve failure over time.
Remember to test the one way valve at the tank bottom. This quick check tells you if water flows properly through your system.
If your robot still drips after trying these steps, the internal valve assembly may need replacement. This is normal wear for any mechanical part that handles water daily.
Reducing your water flow setting in the app also helps reduce stress on the valve. Lower settings mean less pressure pushing against worn seals.
Consistency matters more than perfection. Check your tank seal each time you refill it. Clean the nozzle weekly if you use your mop often.
These small steps add years to your robotic mop’s life and keep your floors clean without water damage.
Do not ignore small drips thinking they will fix themselves. A minor leak today often becomes a bigger valve problem tomorrow.
Your robotic mop works hard to keep your home clean. Give it the same care by checking its water system regularly.
With proper maintenance and quick action when problems appear, you can solve most dripping issues yourself. Save costly repairs by catching these problems early.
Trust your troubleshooting skills. Most dripping issues have simple solutions once you understand what causes them.
Frequently Asked Questions
Why does my robotic mop leak clean water from the tank?
Leaking happens for three main reasons. First, the tank seal may not be sitting correctly in its slot. Second, you might have filled the tank beyond its maximum line. Third, the internal one way valve could be stuck or damaged.
Stop your mop and remove the clean water tank. Check that the seal ring sits flush all the way around. Look at the fill line and ensure you haven’t overfilled it. These two fixes solve most leaking problems quickly.
How do I know if the water outlet nozzle is clogged?
A clogged nozzle stops water from flowing out during cleaning cycles. Your mop may do dry mopping instead of wet mopping. You might also see water backing up inside the tank.
Use warm water to rinse the nozzle opening. A small brush works well for removing dried mineral deposits. Run water through it for 10 to 15 seconds to flush everything out. This simple cleaning often restores normal water flow.
What should I do if water won’t dispense at all?
First, prime the water pump by letting water run through the system for 10 to 15 seconds. Next, locate the one way valve at the tank bottom and depress it gently to test if water flows through.
If water still won’t dispense, check your app settings. The water flow might be set to zero or very low. Increase the setting and try again. If nothing works, the internal valve assembly may need replacement.
Can I fix a dripping valve myself?
You can fix many dripping issues without professional help. Clean the outlet nozzle thoroughly. Verify the tank seal is seated properly. Check that your tank isn’t overfilled.
If dripping continues after these steps, the internal valve likely needs replacement. Contact the manufacturer for a replacement tank or valve assembly. Attempting to repair the internal valve yourself can cause more damage.

Hi, I’m Rue Hessel, the founder and voice behind TheGenTool. I’m a passionate tech enthusiast who loves exploring the latest gadgets, smart devices, and electronics that shape our everyday lives. Through my website, I share honest, hands-on reviews of trending Amazon products to help you make smarter and more confident buying decisions.