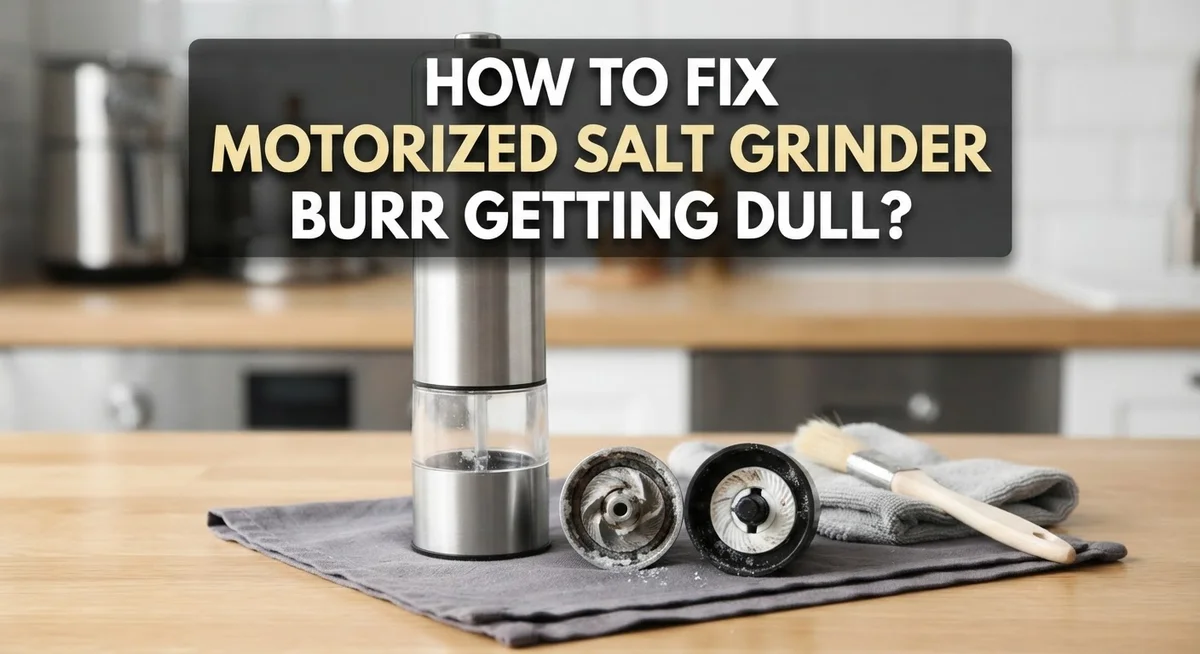
How To Fix Motorized Salt Grinder Burr Getting Dull?
Is your salt grinder giving you coarse chunks instead of a fine sprinkle? That frustrating change often points to a dull burr. Many people assume this means their grinder is broken for good.
The good news is dullness does not always mean disaster. Sometimes a simple clean fixes the problem completely. Other times, mineral buildup or rust hides underneath the surface.
This article walks you through everything you need to know. You will learn how to spot the difference between a truly dull burr and a misaligned part. Both issues can feel the same when you are grinding salt.
In a Nutshell
- Take apart your grinder fully. Check each piece for chips, rust, or heavy wear before you do anything else.
- Clean with what you already have. Use vinegar to dissolve rust and mineral buildup. A little baking soda handles lighter grime.
- Dry every part completely. Moisture left behind invites rust, which brings the dulling problem right back.
- Adjust the knob correctly. Turn it clockwise for a fine grind and counterclockwise for a coarser one. Avoid cranking it too tight.
- Watch for mechanical issues. If both burrs spin together instead of one staying fixed, that signals a deeper problem, not just dullness.
- Know when to replace parts. Chipped or structurally damaged burrs need swapping out. Cleaning simply cannot fix physical damage.
Why Motorized Salt Grinder Burrs Dull Over Time
Salt grinders rely on two burrs working together to crush salt crystals into smaller pieces. Over time, these burrs lose their sharp edges and become dull. Understanding why this happens helps you prevent it and fix it faster.
Mineral and salt residue builds up inside your grinder. Salt contains minerals that stick to the burr surfaces. This buildup hardens and creates a coating that reduces grinding power. The burrs cannot bite into salt crystals as effectively anymore.
Rust develops when moisture stays trapped inside the grinder. After cleaning or use in humid environments, water droplets can settle on metal burr surfaces. Rust creates a rough, uneven texture that mimics dullness. The burrs look worn even though they are just corroded.
Mechanical wear is completely normal. Ceramic and stainless steel burrs are durable, but they are not indestructible. Each time you grind salt, tiny particles wear away from the burr edges. After months or years of regular use, this wear adds up. The burrs gradually lose their sharpness.
Misalignment can make burrs seem dull when they are actually fine. If internal parts shift slightly, the burrs may not sit properly against each other. The gap between them increases, and grinding becomes less efficient. You might think the burrs are dull when the real problem is positioning.
Over tightening the adjustment knob speeds up dulling significantly. Excessive pressure forces the burrs together too hard. This creates friction that wears the edges faster than normal use would. Gentle, consistent pressure keeps your burrs sharp longer.
Recognizing these causes helps you take the right action. Some issues need cleaning only. Others require replacement or adjustment.
Signs Your Grinder Burr Needs Attention
Your motorized salt grinder will show you clear warning signs when the burr is getting dull. Recognizing these signals helps you act before the problem gets worse.
The most obvious sign is coarse, uneven salt chunks coming out instead of fine powder. You turn on the grinder and get inconsistent results. Some salt stays large while other bits are tiny. This inconsistency tells you the burrs are no longer grinding uniformly.
Another key indicator is increased grinding time. Your grinder takes much longer to process the same amount of salt. You notice the motor running harder and sounding strained. The grinder may also feel hot to the touch after normal use.
Listen for unusual grinding sounds. A dull burr often produces a grinding noise that sounds different from normal operation. You might hear squeaking, rattling, or a high pitched whine. These sounds mean the burrs are not making proper contact.
Check for salt buildup around the grinder opening. When burrs dull, salt does not process smoothly and gets stuck. You see powder or crystals collecting where salt normally flows freely.
Motor strain is another warning sign. The motor works harder when burrs are dull because it takes more effort to grind. You notice the grinder drawing more power or the motor shutting off mid cycle.
Finally, observe if the adjustment knob feels loose or unresponsive. When you turn it to change grind size, nothing happens. The burrs may have shifted out of alignment, mimicking dullness.
These signs tell you it is time to disassemble and inspect your grinder. Early detection prevents complete grinding failure and keeps your salt grinder working well.
Step-by-Step: Disassembling Your Salt Grinder Safely
Before you touch anything inside your salt grinder, unplug it from the wall. This step keeps you safe from unexpected motor activation. Wait a few minutes to let any residual power drain completely.
Locate the adjustment knob on the outside of your grinder. Turn it counterclockwise gently until it stops. This loosens the burr mechanism and makes disassembly much easier. Do not force it; gentle pressure works best.
Find the main housing screws, usually located on the bottom or sides of your grinder. Use a screwdriver that fits snugly into each screw head. Remove each screw slowly and place them in a small container so you do not lose them. Keep screws organized in order as you remove them.
Carefully lift the top housing away from the base. You may need to wiggle it slightly side to side. Some grinders have a rubber gasket or seal; note how it sits before removal.
Locate the motor assembly and the burr chamber. Take a photo with your phone before you proceed. This photo becomes your reassembly guide later. You will see two burrs: one stationary and one rotating.
Gently remove the rotating burr by turning it counterclockwise. It should come free without resistance. If it feels stuck, apply a small amount of vinegar around the edges and wait five minutes.
Inspect the stationary burr from below. Do not remove it yet; just look for damage. Check both burrs for chips, cracks, or visible wear patterns. Clean any visible salt or mineral deposits with a soft brush.
Keep all small parts in one spot during disassembly. This prevents pieces from rolling away or getting lost. Your organized approach makes reassembly straightforward and successful.
Cleaning Techniques to Remove Rust and Mineral Buildup
Rust and mineral buildup are the primary enemies of salt grinder burrs. These deposits form a crusty layer that prevents burrs from making proper contact with salt crystals. The good news is that cleaning removes most buildup and restores grinding performance.
Vinegar is your best cleaning tool. White vinegar contains acetic acid, which dissolves rust and mineral deposits effectively. Soak the burrs in vinegar for 15 to 30 minutes. This loosens stubborn buildup without damaging the metal or ceramic surfaces.
After soaking, use a soft brush to gently scrub away loosened deposits. Work carefully around the burr edges and grooves. Avoid wire brushes or abrasive pads, as these scratch the burr surface and make dulling worse.
Baking soda works well for mild cleaning. Mix baking soda with a small amount of water to create a paste. Apply this paste directly to the burrs and let it sit for 10 minutes. The mild abrasive action removes light rust without harming the burr structure.
Rinse all components thoroughly under running water after cleaning. This step is critical because leftover vinegar or baking soda residue can cause new rust formation.
Drying is absolutely essential. Use a clean, dry cloth to wipe every part completely. Pay special attention to crevices and grooves where moisture hides. Leave components in a warm, dry place for at least one hour before reassembling.
Incomplete drying causes rust to return quickly, undoing your cleaning work. Once everything is dry, reassemble your grinder and test it. Most grinders perform like new after proper cleaning removes rust and mineral buildup.
Realigning and Adjusting Internal Grinder Components
After cleaning your salt grinder burrs, you need to put everything back together correctly. Misaligned components can make your grinder perform poorly, even if the burrs are clean and sharp.
Start by inspecting the rotating burr before reinstalling it. Look at the shaft where the burr attaches. Make sure it is straight and not bent. A bent shaft will cause the burr to sit at an angle inside the chamber. This creates uneven grinding and accelerates wear.
Check the stationary burr position next. It should sit flat and level in its housing. If it is tilted or shifted, gently tap it back into place using a soft mallet. Never force it. The burr should move smoothly into its correct position.
Reinstall the rotating burr by turning it clockwise until it seats properly. Do not over tighten it. Hand tight is sufficient. Over tightening causes unnecessary friction and damages the burr faster.
Now align the adjustment knob carefully. The knob controls the distance between the two burrs. Turn it counterclockwise fully to create maximum space. This prevents the burrs from touching during reassembly. Slowly turn the knob clockwise until you feel slight resistance. Back off one quarter turn. This gives you a balanced starting position.
Reassemble the housing and secure all screws firmly. Plug in your grinder and run it for 10 seconds without salt inside. Listen for smooth operation. If you hear grinding or scraping sounds, stop immediately and recheck your alignment.
Test with a small amount of salt. The grinder should produce consistent, fine powder. If performance is still poor, your burrs may need replacement rather than adjustment.
When to Repair vs. Replace the Burr Mechanism
Deciding whether to repair or replace your salt grinder burr requires you to understand the damage level. Start by examining the burrs closely after disassembly. Look for visible chips, deep gouges, or flat spots where grinding surfaces should be curved.
If you see minor wear but no structural damage, cleaning and realignment may solve your problem. Dull burrs that still have their shape often regain function after removing rust and mineral buildup. This repair approach saves money and works well for grinders that are otherwise in good condition.
Replace the burr mechanism if you find these red flags: ceramic burrs with visible cracks, stainless steel burrs with permanent dents, or burrs that no longer make contact with each other. Chipped edges prevent proper grinding and cannot be fixed through cleaning alone.
Pay attention to how both burrs move together. If the rotating burr spins freely but the stationary burr does not stay in place, or if both burrs turn together, this signals mechanical failure beyond simple dulling. These situations require replacement of the entire burr assembly or the grinder itself.
Test your grinder after cleaning and realigning. Add a small amount of salt and run it briefly. If grinding action returns to normal, you successfully repaired the problem. If salt passes through without being crushed into smaller pieces, the burrs are likely damaged beyond repair.
Consider the age of your grinder too. Older models with worn burrs may not justify the cost of replacement parts. Newer grinders benefit more from burr replacement because the rest of the unit remains functional.
Common Mistakes That Accelerate Burr Wear
Over tightening your adjustment knob is the fastest way to dull burrs prematurely. When you crank the knob too tight, you force the burrs together with excessive pressure. This creates friction that wears down ceramic or stainless steel surfaces quickly.
Stop tightening once you feel resistance. Your grinder should work smoothly without force. If grinding feels hard, loosen the knob slightly instead of pushing harder.
Inadequate drying after cleaning is another major mistake that accelerates dulling. Water left inside the grinder chamber promotes rust formation on metal burrs. Rust then creates rough spots that mimic dullness and cause poor grinding performance.
Always dry every component completely before reassembling your grinder. Use a clean cloth and let parts air dry for several minutes. Moisture trapped inside will undo all your cleaning efforts.
Ignoring mechanical failure signs also speeds up burr wear. If both burrs rotate together instead of one staying stationary, your grinder has a mechanical problem. Forcing a broken grinder to work damages burrs faster and wastes your time.
Using salt that is too wet or contains large mineral clumps accelerates dulling too. Wet salt creates buildup on burr surfaces. Large crystals jam between burrs and cause grinding failures.
Store salt in a dry container and break up clumps before grinding. This simple step reduces stress on your burr mechanism significantly.
Grinding continuously without breaks also wears burrs faster. Motors generate heat during operation. Heat combined with friction accelerates material degradation on both burr types.
Take short breaks between grinding sessions. Let your grinder cool down. These habits extend burr life and maintain consistent grinding performance throughout the year.
Preventive Maintenance for Long-Lasting Grinding Performance
Regular maintenance keeps your salt grinder burrs sharp and working well. Prevention is always better than fixing problems later.
Start by using the right salt. Wet or clumpy salt damages burrs faster than dry salt does. Store your salt in an airtight container away from moisture. Break up any clumps by hand before grinding them.
Clean your grinder regularly, not just when it stops working. Monthly cleaning prevents rust and mineral buildup that dulls burrs. Disassemble the grinder completely and rinse all parts under running water. Use vinegar to remove rust spots and mineral deposits. Dry every single component thoroughly with a clean cloth before reassembling.
Avoid over tightening the adjustment knob. Tighten it only until you feel gentle resistance. Excessive pressure crushes salt crystals and wears burrs much faster. Your grinder should operate smoothly without requiring force.
Let your grinder rest between uses. Grinding salt continuously without breaks generates heat that damages burrs over time. Take short pauses every few minutes during heavy grinding sessions.
Check your burr alignment regularly. Misaligned burrs wear unevenly and dull quickly. After reassembling your grinder, test it with a small amount of salt. Listen for smooth grinding sounds without grinding or rattling noises.
Replace worn burrs before they become severely damaged. Ceramic or stainless steel burrs that show visible wear should be swapped out soon. Catching problems early prevents complete grinder failure.
Store your grinder in a cool, dry place. Humidity and temperature changes cause rust that dulls burrs. Keep it away from direct sunlight and moisture sources.
Following these steps keeps your motorized salt grinder performing like new for years.
Final Thoughts
A dull burr does not mean your salt grinder is finished. Most problems come from buildup, moisture, or loose parts. Simple cleaning and care often bring back smooth grinding.
Take time to inspect your grinder before assuming the worst. Chips or cracks on the burr surface mean replacement is your best option. Mild dullness usually responds well to cleaning and drying.
Rust and mineral deposits act like silent enemies. They creep into small spaces and slow down your grinder without warning. Regular checks help you catch these issues early.
Your grinding technique also plays a role in burr life. Gentle handling and proper storage protect the mechanism inside. Small habits make a big difference over time.
Remember that burrs are not designed to last forever. Even with great care, they wear down eventually. This is normal and expected with daily use.
The key is knowing when cleaning helps and when replacement becomes necessary. Trust the signs your grinder gives you. Grinding that feels rough or produces uneven salt often points to deeper wear.
Fixing your grinder does not require special skills. A little patience and the right steps solve most problems. Many issues clear up once you dismantle, clean, and realign the parts correctly.
Think of burr maintenance as part of your kitchen routine. Just like sharpening knives, it keeps your tools working their best. Your salt grinder deserves the same attention.
With consistent care, your grinder will serve you well for a long time. Small efforts today prevent bigger problems tomorrow. Keep these tips in mind and enjoy fresh, perfectly ground salt every time you cook.
Frequently Asked Questions
Why do motorized salt grinder burrs get dull in the first place?
Burrs dull because salt is abrasive and hard. Ceramic and stainless steel burrs wear down naturally over time with repeated grinding. Rust and mineral buildup also speed up the dulling process. When salt contains moisture or large clumps, it puts extra pressure on the burrs and causes faster wear.
How can I tell if my burrs are actually dull or just dirty?
Clean your grinder first. Rust and mineral deposits can make burrs feel dull when they are not. Use vinegar to remove rust buildup, then dry everything completely. If grinding still feels rough after cleaning, your burrs are likely dull. Check for chips or visible wear on the burr surfaces too.
Can I sharpen my burrs instead of replacing them?
Burr sharpening is not practical for home grinders. Ceramic and steel burrs cannot be easily sharpened like knife blades. Your best option is replacement if they are damaged or heavily worn. Cleaning helps restore some grinding ability, but it cannot reverse structural damage.
What is the difference between a dull burr and a mechanical alignment problem?
A dull burr grinds slowly and produces uneven pieces. A misaligned burr causes both grinding mechanisms to turn together without grinding at all. If your grinder motor runs but nothing grinds, alignment is likely the issue. Loosen the adjustment knob slightly to check if the burrs separate and move freely.
How often should I clean my grinder to prevent dulling?
Clean your grinder every few weeks if you use it regularly. Regular maintenance prevents mineral and rust buildup before it damages the burrs. Let your grinder rest between uses. Store salt in a dry container to reduce moisture exposure.

Hi, I’m Rue Hessel, the founder and voice behind TheGenTool. I’m a passionate tech enthusiast who loves exploring the latest gadgets, smart devices, and electronics that shape our everyday lives. Through my website, I share honest, hands-on reviews of trending Amazon products to help you make smarter and more confident buying decisions.