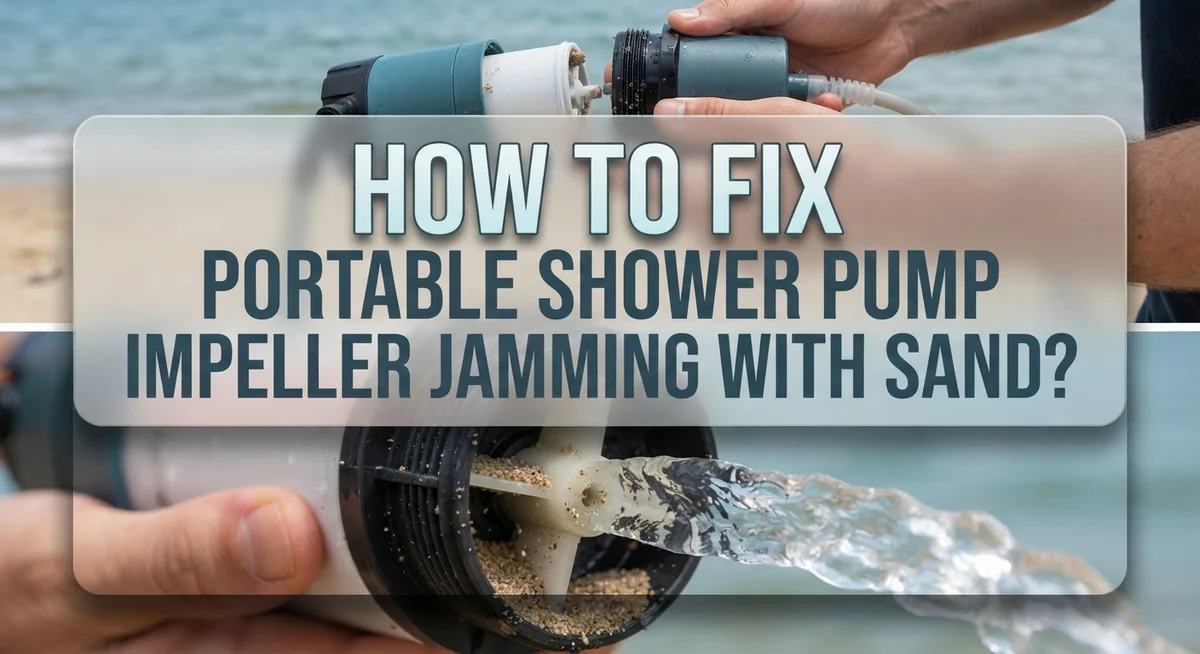
How To Fix Portable Shower Pump Impeller Jamming With Sand?
Sand and water do not mix well with your portable shower pump. You turn on the switch, and nothing happens. Or worse, you hear a faint buzzing sound, but no water comes out.
This is a classic sign of a jammed impeller. Beach trips, camping showers, and outdoor cleanups often push sand straight into your pump. That grit gets trapped inside the impeller chamber and stops it from spinning.
The good news is that you can often fix this problem yourself. You do not always need a replacement pump.
This guide walks you through the entire process. We will show you how to safely open your pump casing using simple tools.
In a Nutshell
- Warm it up first. Use a hairdryer to gently heat the glue seams. This makes the housing much easier to pry open without cracking it.
- Use the right tools. Grab a thin flat screwdriver for prying. A thick one can crack the plastic casing, so avoid that mistake.
- Alcohol helps loosen stuck parts. If the housing feels stuck even after heating, dab on some alcohol. It breaks down old glue residue effectively.
- Clear the sand manually. Once open, gently pick out any trapped sand or grit from the impeller blades. Always follow safety lock out steps first.
- Do not forget the vents. Check and clean the small vent holes on the pump body. Clogged vents often cause overheating issues too.
- Know when to stop. If the impeller blades are cracked or the shaft is bent, repair is not practical. It is usually smarter to replace the unit instead.
Why Sand Jams the Impeller: Understanding the Problem
Sand gets into your portable shower pump through water intake. Beach water, river water, and lake water all carry tiny sand particles. These particles flow straight into the pump chamber where the impeller spins.
The impeller is a fan-like wheel with curved blades. It rotates to push water through your shower system. When sand enters, the grains stick to the wet metal surfaces. They pile up around the blade edges and in tight spaces between the impeller and the pump housing.
Sand acts like an abrasive paste. It does not dissolve in water. Instead, it hardens as moisture evaporates and minerals dry on the metal. This creates a sticky, gritty coating that locks the impeller in place. The spinning motion stops completely or slows down dramatically.
The problem gets worse over time. Each time you use the pump, more sand enters. The buildup increases. Water pressure drops. Eventually the motor works hard but pushes almost no water through your shower head.
Why this happens so easily comes down to pump design. Most portable shower pumps have simple intake filters. These filters catch large debris but let fine sand particles slip through. The intake sits low in your water container, right where sand settles at the bottom.
Saltwater makes this worse. Salt mixes with sand and creates a harder, crusty blockage. Freshwater sand jams are easier to clear, but the problem is still serious.
Understanding this process helps you prevent future jams. You now know exactly where sand enters and why it sticks. This knowledge guides your repair approach and helps you choose better water sources for your portable shower setup.
Signs Your Pump Impeller Is Clogged With Sand
Your portable shower pump sends out weak water flow or stops working entirely. You turn it on and hear a grinding noise instead of the normal hum. These are your first clues that sand has jammed the impeller.
Listen for unusual sounds. A healthy pump runs quietly or with a soft whirring noise. When sand blocks the impeller, you hear grinding, squealing, or rattling sounds. The impeller blades scrape against sand particles trapped inside the housing. This noise means action is needed soon.
Check your water output. A clogged impeller reduces flow dramatically. Water trickles out instead of spraying normally. The pump may run but push almost no water through the showerhead. This happens because sand blocks the blade passages and slows rotation.
Feel for vibration. Place your hand on the pump body while it runs. Excessive vibration signals an impeller struggling to spin. Sand creates friction that makes the motor work harder and shake more.
Notice if the pump stops completely. Sometimes sand jams the impeller so badly that it cannot turn at all. The motor hums but nothing happens. The pump may shut off on its own if it has a thermal safety feature.
Smell burning odors. A motor working too hard against sand resistance can overheat. You might notice a burnt plastic or rubber smell. This means the pump is stressed and needs immediate attention.
Watch for leaking. Sand can damage internal seals. You may see water dripping from the pump body or connections. Combined with weak flow, this suggests sand has worn internal parts.
Catching these signs early makes repairs easier and prevents permanent damage to your pump system.
Safety Precautions Before Disassembly
Before you open up your portable shower pump, you need to protect yourself. Sand inside the pump can be sharp and dangerous. Your hands and eyes face the biggest risks during disassembly.
Start by turning off the power completely. Unplug the pump from any electrical outlet. Wait at least five minutes before touching it. This cooling period prevents burns from hot motor components. Never work on a pump that just finished running.
Wear protective gloves during the entire process. Nitrile or latex gloves work well. They protect your skin from sharp sand particles and any chemicals you might use. Safety glasses are equally important. Sand can fly up when you pry open the housing. One grain in your eye causes real pain and damage.
Drain all water from the pump first. Open any drain plugs or valves. Let the water run into a bucket or sink. Residual water mixed with sand becomes a messy paste. Work in a clean, dry area with good lighting. You need to see what you are doing clearly.
Check that the pump sits on a stable surface. It should not roll or shift while you work. A pump falling on your foot or hand causes injury. Keep your workspace organized. Place small parts in a container so nothing gets lost.
Have your manual nearby before starting. Read the safety section completely. Different pump models have different assembly methods. Some pumps have electrical components that need special care. Understanding your specific pump model prevents mistakes that cause injury or permanent damage to the unit.
Step-by-Step Guide to Opening the Pump Housing
Opening your pump housing requires care to avoid damage. Start by applying heat to any glued seams using a standard hairdryer. Move the dryer back and forth across the seam for 30 to 60 seconds. The heat softens the adhesive and makes separation easier.
Next, locate the seam where the two housing halves meet. Use a thin flat screwdriver as your prying tool. Thick screwdrivers can crack the plastic or metal casing. Insert the thin blade gently into the seam and apply steady, even pressure. Do not force it suddenly.
Work your way around the entire seam slowly. Move the screwdriver a few inches, apply gentle pressure, then move again. This gradual approach prevents sudden cracks. You may hear small popping sounds as the glue releases. This is normal.
For stubborn seams, apply rubbing alcohol along the joint. Let it soak for a few minutes. Alcohol breaks down many adhesive types. Then resume gentle prying with your thin screwdriver.
Once the housing cracks open slightly, you can use your fingers to carefully pull the halves apart. Support both sides evenly so one half does not drop suddenly.
Take your time during this step. Rushing causes broken tabs or cracked walls that make reassembly difficult. If the housing still resists after 10 minutes of careful work, stop and consult your pump manual. Some models have hidden fasteners that must be removed first.
After opening, set both housing halves on a clean cloth to prevent dirt from entering the interior. Now you can access the impeller and begin sand removal.
Removing Sand Blockage and Cleaning the Impeller
Start by ensuring the pump is completely unplugged and drained. Sand blockage requires a careful approach to avoid damaging internal components. Use a hairdryer on low heat to warm the glue sealing the impeller housing for about two minutes.
Apply rubbing alcohol along the seam where the impeller compartment meets the main housing. The alcohol helps soften adhesive and makes separation easier. Take a thin flat screwdriver and gently insert it into the seam. Avoid thick screwdrivers, which can crack the plastic housing.
Work the screwdriver slowly around the entire perimeter. Do not force it in one spot. Once a small gap appears, use your fingers to carefully pull the compartment open. Patience prevents broken tabs.
Locate the impeller inside the chamber. It looks like a small wheel with curved blades. Sand usually accumulates around the impeller shaft and between the blades. Use your fingers or a soft brush to remove large sand particles first.
For stubborn sand deposits, soak the impeller in clean water for five minutes. This loosens compacted sand. Gently brush away the loosened material with a soft-bristled brush. Never use metal brushes or scrub aggressively.
Check all vent holes in the housing. Sand often clogs these small openings and prevents water drainage. Use a thin wooden toothpick or soft wire to clear each vent hole carefully.
Inspect the impeller shaft for cracks or wear. Spin it by hand to ensure smooth rotation. Verify that the pump motor turns freely without grinding sounds.
Rinse all components with clean water before reassembly. Allow everything to dry completely on a clean cloth. This prevents new sand particles from sticking to wet surfaces during reassembly.
Inspecting Vent Holes, Float Switches, and Check Valves
After you remove sand from the impeller, check three critical components. These parts often trap sand and cause pump failure if ignored.
Vent holes let air escape during operation. Sand blocks these small openings easily. Look for tiny holes around the pump housing. Use a thin wire or needle to clear each one. Push gently to avoid enlarging the holes. Blocked vents reduce water flow and create pressure buildup inside the pump.
Float switches control water level in your system. Sand can jam these switches, preventing them from moving up and down. Locate the float switch near the pump inlet or inside the housing. Move it by hand to confirm it travels freely. The switch should click when you move it. If it feels stuck, soak it in clean water for a few minutes. Dried sand often releases after soaking.
Check valves prevent water from flowing backward through your system. These one way valves contain a small flapper or ball inside. Sand accumulation here stops water from moving forward. Open the check valve housing carefully using your thin screwdriver. Look inside for sand deposits around the flapper. Rinse the interior thoroughly with clean water. Make sure the flapper moves smoothly when you tap it gently.
After inspecting all three components, reassemble them in reverse order. Start with check valves first, then float switches, then seal the vent holes. Run water through the pump slowly before fully reassembling the housing. This test catches remaining sand before you close everything up. Your pump should now operate at full capacity.
Preventing Future Sand Jams in Your Shower Pump
Preventing sand jams requires a multi step approach. The key is stopping sand from entering your pump system in the first place.
Filter your water source before it reaches the pump. Sand settles at the bottom of water containers and tanks. Use a simple strainer or mesh screen when filling your system. This catches large particles before they enter the pump intake. Change or clean your filter regularly to keep it working well.
Store your pump in a clean, dry location when not in use. Sand and dust settle on equipment left outside. Cover your pump with a protective case or bag. Keep the intake valve sealed when the pump sits idle.
Inspect your water source regularly. If you draw water from natural sources like lakes or rivers, check for sediment buildup. Murky or cloudy water means sand particles are present. Let water settle in a bucket for a few minutes before using it. This allows heavier particles to sink to the bottom.
Check your pump’s intake hose for damage or cracks. Holes in the hose allow sand to enter your system. Replace any damaged sections immediately.
Perform routine maintenance every few weeks. Open your pump housing and inspect the impeller for sand deposits. Early removal prevents jams from forming. Clean vent holes monthly to ensure proper airflow and drainage.
Keep your pump dry between uses. Moisture mixed with sand creates a paste that sticks to the impeller. Drain all water from the housing and let it air dry completely.
Use distilled or filtered water whenever possible. This reduces mineral buildup and sand accumulation inside your pump. These simple steps keep your shower pump running smoothly for years.
Repair or Replace: Making the Right Call
When your portable shower pump’s impeller jams with sand, you face a key decision: should you repair it or replace it entirely? The answer depends on several practical factors.
Start by assessing the damage. Open the pump housing carefully using a hairdryer to soften the glue and a thin flat screwdriver to pry it open. Once inside, inspect the impeller for visible cracks, warping, or severe corrosion. If the impeller looks intact after you remove the sand, repair is worth attempting.
Check the impeller shaft closely. A cracked or bent shaft means replacement is your better option. Shafts cannot be repaired safely, and a damaged one will jam again quickly. If the shaft appears straight and solid, you can proceed with cleaning and reassembly.
Consider accessibility and your comfort level. If you can reach all components easily and feel confident working with small parts, repair makes sense. The process takes about 30 minutes for someone with basic mechanical skills. If you find the disassembly stressful or the components seem too delicate, replacement might save you frustration.
Evaluate the pump’s age and overall condition. An older pump with multiple issues beyond sand jamming may cost more to fix than replace. A newer pump with only sand blockage deserves repair attention.
Cost also matters. Repair requires only your time, rubbing alcohol, and clean water. Replacement involves purchasing a new unit. If your current pump works otherwise well, repair is economical.
Make your final decision based on shaft condition, your comfort level, and the pump’s age. Most sand jams in accessible pumps justify repair attempts before considering replacement.
Final Thoughts
Sand jams are common, but they don’t have to end your portable shower pump’s life. You now know how to open the housing, clear the impeller, and check every critical part. This knowledge saves you money and time.
Fixing this issue yourself is simpler than it seems. A hairdryer, a thin screwdriver, and some rubbing alcohol get the job done in most cases. You don’t need special tools or advanced skills.
The real key to long term success is prevention. Filtering your water source and storing your pump properly stop sand problems before they start. Routine maintenance beats repair every time.
Remember to inspect vent holes, float switches, and check valves each time you service your pump. These small components affect big performance. Skipping this step often leads to repeat jams.
Safety matters just as much as skill. Always follow lock out procedures before you open any pump housing. This protects you from injury and protects your pump from further damage.
If you find cracks in the impeller shaft or heavy wear, replacement makes more sense than repair. Trust your inspection results. Pushing a damaged pump too far risks bigger problems later.
Your comfort level with disassembly also guides this decision. Some users feel confident working inside pump housings. Others prefer a fresh replacement instead of tinkering with small parts.
Keep this guide handy for future reference. Sand jams may happen again, especially if you use natural water sources often. Now you have the steps ready whenever that moment arrives.
A well maintained pump rewards you with steady water flow and fewer surprises. Take these steps seriously, and your portable shower pump will serve you reliably for many trips ahead.
Frequently Asked Questions
What causes sand to jam a portable shower pump impeller?
Sand enters your pump from water sources like lakes, rivers, or tanks. The sand settles and sticks to the impeller, especially when moisture mixes with it. This creates a paste-like blockage that stops the pump from spinning. Natural water sources contain the most sediment, so they pose the biggest risk to your pump’s performance.
How do I safely open the pump housing without damage?
Use a hairdryer to warm the glue around the housing seams for about 30 seconds. This softens the adhesive and makes separation easier. Next, insert a thin flat screwdriver into the seam and gently pry. Thick screwdrivers can crack the plastic housing.
Apply rubbing alcohol around the seam to help loosen the bond further. Work slowly and let the heat do most of the work for you.
What’s the safest way to remove sand from the impeller?
Always follow lock-out safety procedures before touching internal parts. Manually pick out visible sand and debris with a small brush or cloth. Use clean water to rinse away remaining particles. Pay special attention to the impeller shaft and surrounding channels.
Why should I check vent holes during repair?
Vent holes allow air to escape as water fills the pump chamber. Clogs in these holes reduce flow or stop the pump entirely. Use a thin wire or needle to clear any blockage. Clean vent holes prevent future jams and keep your pump running smoothly.
When should I replace my pump instead of repairing it?
If the impeller shaft shows cracks or heavy wear, replacement makes more sense. Damaged shafts won’t hold up even after cleaning. Assess whether you can easily access all components. If repair feels overwhelming or the pump is very old, buying a new one saves frustration.

Hi, I’m Rue Hessel, the founder and voice behind TheGenTool. I’m a passionate tech enthusiast who loves exploring the latest gadgets, smart devices, and electronics that shape our everyday lives. Through my website, I share honest, hands-on reviews of trending Amazon products to help you make smarter and more confident buying decisions.