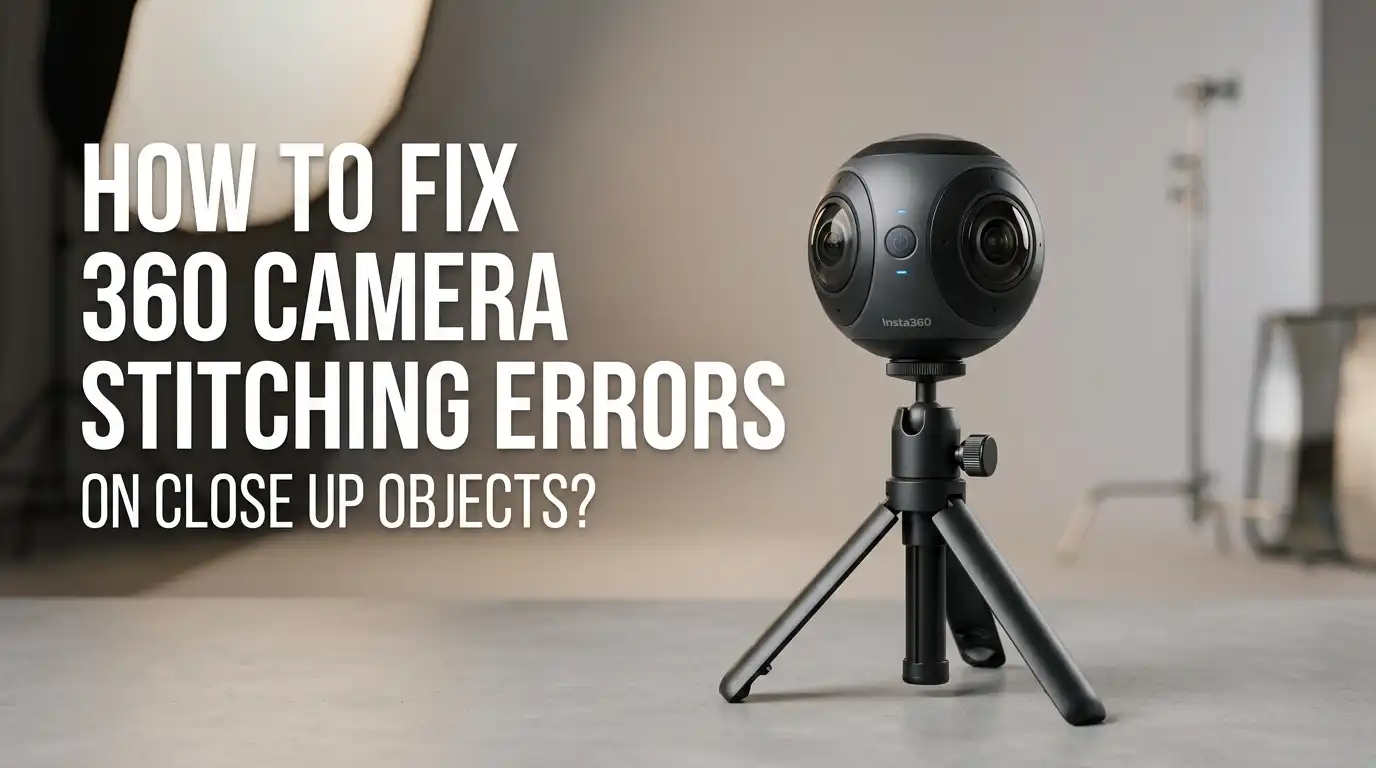
How To Fix 360 Camera Stitching Errors On Close Up Objects?
Have you ever shot a stunning 360 video, only to find an ugly seam slicing right through your subject? That awkward line, the warped edges, the ghosty double image. It ruins the magic instantly.
Close up objects are the biggest troublemakers here. When something sits too near your lens, the two halves of your 360 sphere refuse to blend smoothly. The result looks broken, blurry, or cut in half.
The good news is simple. You can fix most stitching errors with the right habits and a few smart edits. You do not need expensive gear or advanced skills.
Key Takeaways
- Stitching errors come from parallax. Your camera has two lenses that see slightly different angles. When an object is close, those angles disagree too much, and the software cannot blend them well.
- Distance is your best friend. Keep close subjects at least one meter away from the camera when possible. This single habit removes most stitching problems before they happen.
- Lens placement matters more than you think. Always point one lens directly at your subject. Never let an important object sit on the seam line between the two lenses.
- Software fixes are powerful. Tools like Optical Flow and AI Stitching can repair messy footage in post production. Re export your clips through desktop software for the cleanest result.
- Settings can break or save your shot. Wrong lens guard modes, isolated exposure, and a rotating selfie stick all cause seams. Check these before you press record.
- Hide what you cannot fix. Use props, walls, or reframing to push the stitch line away from your subject. A smart camera angle solves problems no software can.
Understanding Why 360 Stitching Errors Happen
Let us start with the root cause. Your 360 camera uses two ultra wide fisheye lenses that sit back to back. Each lens captures one half of the world. Software then joins these two halves into a full sphere. That joining process is called stitching.
The problem lives in the gap between the lenses. Because the two lenses sit a few centimeters apart, they see objects from slightly different angles. This is called parallax. Your own eyes do the same thing. Close one eye, then the other, and watch a nearby object jump sideways.
For faraway objects, this jump is tiny and easy to blend. But for close objects, the jump is huge. The software cannot match the two views, so you get tearing, ghosting, or a visible seam. Once you understand this, every fix below makes perfect sense.
Keeping The Right Distance Between Camera And Subject
This is the simplest and most effective fix of all. Distance kills parallax. The farther your subject sits from the camera, the smaller the angle difference between the two lenses becomes. So the software stitches it cleanly.
Most modern 360 cameras have what is called a safe stitching distance. For many popular models, this falls between 0.6 meters and 1 meter. Stay outside that range and your seams almost disappear.
Here is how to apply it in real life. When filming a person, ask them to stand at arm’s length or farther. When filming an object on a table, pull the camera back a bit. When using a selfie stick, extend it fully so your body stays beyond the safe zone.
Pros: It is free, instant, and needs no editing. Cons: It limits dramatic close up shots, and tight indoor spaces make distance hard to achieve.
Pointing One Lens Directly At Your Subject
Here is a trick that solves close up problems without losing the close up look. Never place your subject on the seam line. The seam runs along the straight line connecting both lenses, on the left and right sides of the camera. That is the danger zone.
Instead, aim one full lens straight at your subject. When a single lens captures the whole object, the software does not need to stitch across it at all. The seam stays safely off to the side, away from the important part of your shot.
Picture it like this. Imagine a clock face. The two lenses look out at the 12 and the 6. The seams sit at the 3 and the 9. So keep your subject at 12 or 6, never at 3 or 9.
Pros: You can shoot much closer than the safe distance suggests. Cons: It takes practice to feel where the seams are, and moving subjects can drift into the danger zone.
Choosing The Correct Lens Guard And Stitching Mode
Many shooters never realize this setting exists, and it quietly ruins their footage. Lens guards change how the camera stitches. A lens guard is a clear protective cover that sits over each lens. It bends light slightly, so the software must account for it.
If you attach lens guards but forget to enable the matching mode, you get warped seams and misalignment. The same happens in reverse. If you remove the guards but leave the mode on, stitching breaks again.
So check this every time. Before shooting, open your camera menu and set the correct lens guard mode. The good news is you can also fix this after shooting. Most desktop apps let you switch the lens guard mode during export, and the seam corrects itself.
Pros: It fixes a hidden cause that many people miss, and it works in post production too. Cons: It is easy to forget, and the wrong setting wastes an entire shoot if not caught early.
Using Optical Flow Stitching In Post Production
When good habits are not enough, software steps in. Optical Flow is the most powerful stitching method available. Regular stitching simply blends two images at the seam. Optical Flow goes further. It studies how pixels move across the overlap and warps them to match perfectly.
This method shines on close up objects. It can stretch and bend the two views so they line up, even when parallax is strong. The result often looks seamless where standard stitching shows a clear tear.
To use it, import your raw footage into your camera’s desktop software. Look for a stitching option in the export settings, then select Optical Flow before you render. Let the software process and export the final file.
Pros: It dramatically improves close up shots and fixes footage you thought was ruined. Cons: It takes longer to render, uses more computer power, and can sometimes create wobble on fast moving edges.
Trying AI Stitching For Tough Shots
Newer cameras now offer an even smarter option. AI Stitching uses machine learning to predict and repair seams. Instead of just following pixel movement, it understands what objects are and how they should connect. This helps in scenes that confuse older methods.
AI Stitching works well when something passes right through the seam, like a hand, a railing, or a passing person. It can guess the correct shape and rebuild the broken area. The output often looks cleaner than both standard and Optical Flow stitching.
You usually find this option in the same export menu as the other stitching modes. Select AI Stitching, then export your clip on a desktop app for the best quality. Mobile previews rarely show the final result, so always judge by the exported file.
Pros: It handles the hardest close up and seam crossing shots beautifully. Cons: It is only available on certain camera models, and it demands a strong computer with more processing time.
Avoiding A Rotating Or Tilted Selfie Stick
This one surprises many people. A spinning selfie stick wrecks your stitch line. When you twist or rotate the stick while filming, the camera moves through space oddly between frames. The software then struggles to match the two halves, and you see tearing along the seam.
The fix is easy. Keep your movements smooth and steady. Walk or pan slowly. Avoid quick spins unless you actually want that effect, and even then expect some stitching wobble.
Tilt is another quiet enemy. If the camera body and the stick are not in a perfectly straight line, the seam shifts and the stick becomes visible in your shot. Heavy cameras can even bend a long stick slightly under their own weight.
Pros: Steady handling instantly improves stitch quality and costs nothing. Cons: It limits dynamic spinning shots, and long selfie sticks remain hard to keep perfectly straight.
Managing Exposure And Color Across The Seam
Sometimes the seam is not torn, but you still see it. A brightness or color jump can reveal the stitch line. This happens when the two lenses use different exposure settings. One side looks bright, the other looks dark, and the join becomes obvious.
The cause is often a setting called isolated exposure, where each lens meters light on its own. In most scenes, you should turn this off so both lenses match. Only use isolated exposure when one lens faces a very different light level than the other.
Position also helps. Point the side of the camera toward the light source, not one lens directly at it. This keeps both lenses lit evenly. In post production, look for a chromatic calibration option to balance color differences along the seam.
Pros: It removes visible lines even when the geometry is perfect. Cons: Wrong exposure choices in mixed lighting can still cause uneven brightness that is hard to fully fix.
Running Stitching Calibration On Your Camera
Over time, your camera lenses can drift slightly out of alignment. A small bump, a dropped camera, or a swapped lens can shift things. Stitching calibration realigns the two lenses in software. This is a built in tool on many 360 cameras and desktop apps.
The process is quick. Open your desktop software, load a clip, and find the stitching calibration option. Follow the prompts, and the software studies your footage to correct the alignment. It then applies this fix across your video.
This works wonders when you notice a constant offset in every shot, not just close up ones. If your seam looks wrong even at safe distances, calibration is often the cure. Some users run it after replacing a damaged lens to restore clean stitching.
Pros: It fixes a deep alignment problem that no shooting habit can solve. Cons: It does not help with parallax on very close objects, since that is a physics issue, not a calibration one.
Hiding The Stitch Line With Clever Framing
When you cannot remove a seam, the next best move is to hide it. Smart framing pushes the stitch line out of view. Remember, the seam always sits on the left and right sides of the camera. So you can plan your scene around that fact.
Place a plant, wall, pillar, or piece of furniture along the seam line. The object hides the messy join, and viewers never notice it. Meanwhile, your real subject stays in front of a clean lens.
Camera angle helps too. Raise or lower the camera so your close subject does not align directly with the seam. A slightly higher or lower position changes everything. Reframing in post production also lets you rotate the view so the seam falls on a boring part of the scene.
Pros: It hides problems software cannot fix and gives you creative control. Cons: It requires planning ahead, and busy moving scenes make it harder to keep the seam hidden.
Reframing Footage To Shift The Seam Away
Reframing is one of the most underused fixes for 360 video. Reframing lets you choose what part of the sphere viewers see. Since 360 footage captures everything, you can pan, tilt, and rotate the view after filming. This means you can steer the camera away from any ugly seam.
If a close object sits right on a torn seam, reframe the shot so viewers look at it from a clean angle. You shift the visible window until the broken area falls behind the viewer or off to the edge.
To do this, open your clip in a 360 editor that supports reframing. Set keyframes to control the view direction, then guide the camera through the scene. Export the reframed clip as a flat video for the cleanest result.
Pros: It rescues footage and turns a flaw into a smooth cinematic shot. Cons: You lose the full 360 sphere in the final export, and complex moves take time to keep smooth.
Handling Special Cases Like Underwater And Bright Light
Some situations create stitching errors that normal fixes cannot solve. Underwater shooting bends light in tricky ways. Water refracts light through the curved lenses, and the two halves no longer line up. You get blurry, broken seams even at safe distances.
The fix here is hardware. Use a proper dive case made for your camera. The case corrects the way light enters the lenses, so stitching works again underwater. Without it, no software setting will fully repair the footage.
Bright direct light causes a different issue. When the sun hits one lens harder than the other, you get a visible brightness seam. Hold the camera so light hits it from the side, keeping both lenses lit evenly. This balances exposure across the join and softens the line.
Pros: These targeted fixes solve problems that confuse beginners. Cons: Dive cases cost extra money, and harsh light still limits where you can point the camera.
Always Checking The Final Exported File
Here is a mistake that fools almost every new 360 shooter. The preview is not the final result. When you watch footage on your camera screen or in the mobile app, the software uses a fast, low quality stitch. It cuts corners to save processing power. So seams that look terrible there often vanish in the real export.
Never judge your work by the preview alone. Export the footage through a desktop app first, then watch it. The desktop tools apply the full stitching power, including Optical Flow and AI methods, and the difference is huge.
This habit saves you from panic and from reshooting good footage. Many clips that seem ruined turn out perfect once properly processed. So before you delete anything, always render the final file and judge it there.
Pros: It prevents wasted reshoots and reveals the true quality of your footage. Cons: Desktop exports take time and require transferring files, which adds a few steps to your workflow.
Frequently Asked Questions
What is the safe stitching distance for a 360 camera?
The safe distance changes by camera model, but most fall between 0.6 meters and 1 meter. Keep close subjects outside this range when you can. Anything inside it risks parallax errors and visible seams. Check your specific camera manual for its exact recommended distance.
Can I fix stitching errors after I finish filming?
Yes, in many cases you can. Desktop software offers powerful repair tools. Re export your raw footage using Optical Flow or AI Stitching for the best results. You can also fix wrong lens guard settings, run calibration, and reframe the shot to hide seams during editing.
Why does my stitch line look fine in the app but bad after export?
That is the opposite of normal, but it can happen. Usually the export looks better because it uses full stitching power. If the export looks worse, check that you selected the correct stitching mode and lens guard setting before rendering. The wrong export setting can reintroduce seams.
Does a more expensive 360 camera remove stitching errors completely?
No camera removes them fully, because parallax is a law of physics. Better cameras only reduce the safe distance and improve software. You still need good shooting habits, correct settings, and smart editing. A premium camera helps, but technique matters just as much.
How do I stop the selfie stick from showing in my shot?
Keep the camera body and the stick in a perfectly straight line with no tilt. Avoid overloading the stick with heavy accessories, since weight causes bending. If the stick still shows, rotate the camera to a different position and check the preview before you record.
Can I shoot close up objects without any stitching errors at all?
Often yes, if you use the lens trick. Point one full lens directly at the object instead of placing it on the seam. This lets a single lens capture the whole subject, so no stitching crosses it. Pair this with Optical Flow stitching for even cleaner close up results.

Hi, I’m Rue Hessel, the founder and voice behind TheGenTool. I’m a passionate tech enthusiast who loves exploring the latest gadgets, smart devices, and electronics that shape our everyday lives. Through my website, I share honest, hands-on reviews of trending Amazon products to help you make smarter and more confident buying decisions.