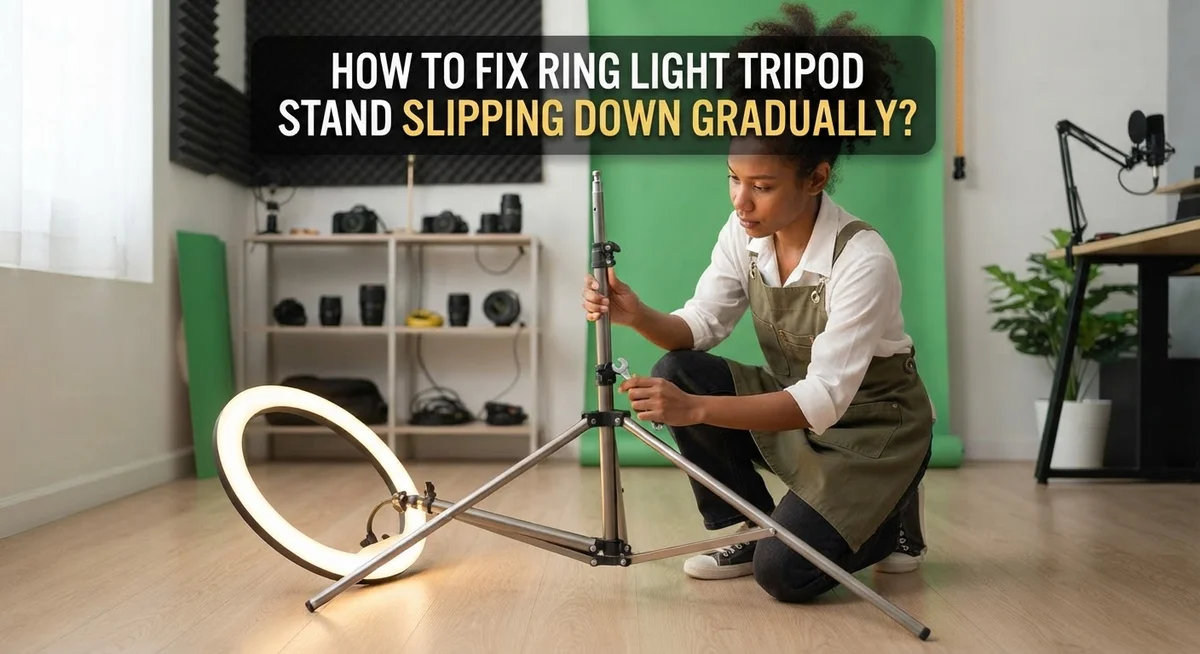
How To Fix Ring Light Tripod Stand Slipping Down Gradually?
Are you in the middle of a video shoot, and your ring light suddenly droops? It slowly slides down the tripod, ruining your perfect lighting angle. This is one of the most annoying problems for content creators.
You are not alone in this struggle. Many people face this frustrating slip during live streams, photo sessions, or important video calls. It often happens at the worst possible moment.
The good news is that this issue has simple solutions. You do not need to buy a brand new setup right away. Most slipping problems come from loose screws or worn out parts.
In a Nutshell
- Check the screw connections first. Loose screws are the top reason your ring light droops. Tighten every mounting point before you start filming.
- Repair worn screw holes with glue. If the hole feels loose, scratch the surface gently. Add super glue to the mount for a tighter grip.
- Add weight to the base. A heavier base keeps the whole stand steady. This stops slow sliding during long shoots.
- Extend and lock the tripod legs fully. Half open legs create wobble. Full extension gives you a solid foundation.
- Center your camera lens in the ring. This step is not just about lighting. It also balances the weight evenly across the mount.
- Avoid common setup mistakes. Skipping screw checks or ignoring the diffuser installation often causes slow slipping over time.
Why Ring Light Tripods Slip Down Over Time
Ring light tripods slip down for several clear reasons. Understanding these causes helps you prevent future problems and fix current ones.
Worn screw holes are the main culprit. When you tighten and loosen screws repeatedly, the plastic threads inside the holes wear out. The screw no longer grips firmly. This allows the ring light to gradually slide downward during your shoot.
Loose mounting connections happen when you skip the tightening step. Many people assemble their tripod quickly and forget to secure all screws completely. Even slightly loose screws create movement over time. Vibrations from your camera or movements near the stand make things worse.
Inadequate weight distribution causes instability. If your tripod base feels light, the top heavy ring light pulls the entire stand down. The weight of the light itself works against the tripod’s ability to hold position.
Improper leg extension creates another problem. When tripod legs are not fully extended and locked into place, the stand wobbles. This wobbling motion transfers to the ring light mounting point. The mounting hardware gradually loosens from this constant movement.
Diffuser installation issues can contribute too. If the plastic diffuser is not seated properly on the casing, it shifts position. This movement transfers to the screw holes and causes them to weaken faster.
Environmental factors matter as well. Temperature changes cause plastic to expand and contract. This expansion and contraction loosens screw connections over time.
The good news is that most of these issues are preventable. Regular screw checks keep connections tight. Proper assembly before each shoot ensures stability. Correct weight distribution and full leg extension eliminate wobble.
Understanding these causes means you can address them before they ruin your video or photo session. Your ring light will stay exactly where you position it.
Tools and Materials Needed for the Fix
Before you start fixing your ring light tripod, gather the right supplies. Having everything ready makes the repair process smooth and quick.
Super glue or epoxy adhesive works best for reinforcing worn screw holes. This is your primary tool for permanent fixes. Choose a strong formula that bonds plastic and metal together effectively.
A small screwdriver set is essential. You need both flathead and Phillips head options to access different screw types on your tripod. Make sure the screwdrivers fit snugly into each screw to avoid stripping them further.
Fine grit sandpaper or a small file helps prepare the screw hole surface. Gently scratching around the hole improves glue adhesion. This step takes only a minute but makes a real difference in holding power.
Baking soda serves as an optional reinforcement material. Mix it with your adhesive to create a thicker paste that fills gaps in damaged holes. This combination adds extra strength to weak connection points.
A clean cloth or paper towels keeps your work area tidy. You will need these to wipe away excess glue and dust from sanding.
Weight materials help stabilize your stand. Sand, small weights, or even water in a container can add mass to the tripod base. This prevents the entire stand from tipping during use.
A rubber mallet or soft hammer gently taps components back into place. Never use a regular hammer, as it damages plastic parts.
Measuring tape ensures your tripod legs extend equally. Uneven legs cause the ring light to lean and slip faster.
Keep a small container nearby for storing tiny screws while you work. Losing these pieces wastes time and frustrates your repair efforts.
Gather these items before starting. A well prepared workspace means fewer interruptions and better results for your fix.
Step-by-Step Guide to Repairing the Screw Hole
Start by removing the plastic diffuser from the ring light casing. Gently pull or unscrew it to access the mounting area underneath. This gives you clear access to the screw hole that’s causing the slipping problem.
Next, inspect the screw hole carefully. Look for signs of wear, cracks, or enlarged openings. Run your finger around the hole to feel if the plastic is stripped or damaged. A damaged hole loses its grip on the screw, causing gradual slipping during use.
Take fine grit sandpaper or a small file and scratch around the screw hole gently. This step matters because scratching creates a rough surface. Super glue or epoxy adhesive bonds much better to rough surfaces than smooth ones. Make several light scratches in a circular pattern around the hole.
Clean away any dust or debris from scratching. Use a clean cloth to wipe the area thoroughly. You want a clean surface before applying adhesive.
Apply super glue directly into the screw hole and onto the mounting part. Work quickly since super glue dries fast. Press the mounting piece firmly into place and hold it steady for the time recommended on your glue container. Most super glues set within seconds to minutes.
For extra reinforcement, you can add baking soda to the glue before it dries. Baking soda creates a thicker, stronger bond that resists future slipping. Sprinkle a small amount into the hole after applying glue, then reapply the mounting part.
Allow the glue to cure fully before reassembling your ring light. Read your adhesive instructions for exact curing time. Most products need 24 hours before you put weight or pressure on the repair.
Once cured, reattach the diffuser and test your setup. The screw should now hold firm without slipping.
Stabilization Techniques to Prevent Future Slipping
Stabilizing your ring light tripod requires a multi-step approach. Start by fully extending all tripod legs before locking them into place. This creates a wider base that resists tipping and slipping movements.
Check every screw connection on your tripod. Tighten each screw firmly using your screwdriver, but avoid over-tightening which can strip the holes further. Make this a regular habit before every shoot.
Weight distribution is critical for stability. Position your ring light so the weight sits centered over the tripod’s base. An unbalanced setup causes gradual slipping as gravity pulls the stand sideways.
Add extra weight to the tripod base if needed. You can place sandbags, weight plates, or other heavy objects around the legs. This counteracts any downward pressure from the ring light and mounting hardware.
Ensure your mounting hardware connects properly. The bracket holding your ring light should sit flush against the tripod head with no gaps. Loose brackets allow the ring light to shift gradually during use.
Position the tripod on level ground whenever possible. Uneven surfaces cause the legs to settle differently, creating stress on the screw connections. Check your floor or ground before setting up.
Inspect your tripod legs regularly for damage or bending. Bent legs prevent even weight distribution and cause slipping. Replace damaged legs if your tripod allows it.
Consider the camera or phone weight you’re mounting. Heavier devices create more downward force on the stand. Ensure your tripod model supports your specific equipment weight.
Rotate your tripod position occasionally during long shoots. This prevents the legs from settling into worn spots on the ground. Simple adjustments keep pressure distributed evenly.
These stabilization techniques work together to keep your ring light steady. Combining proper leg extension, screw tightening, weight management, and regular inspection prevents future slipping problems.
Proper Tripod and Ring Light Assembly Best Practices
Assembling your ring light tripod correctly from the start prevents slipping problems later. Start by laying out all components on a flat surface before you begin. This helps you identify missing pieces and understand how everything fits together.
Extend your tripod legs fully before tightening any locks. Many people skip this step, which causes instability. Each leg should lock securely at every joint. Push down gently on each lock mechanism until you hear or feel it click into place.
Position your tripod on level ground. Uneven surfaces cause one side to bear more weight than others. This unbalanced weight distribution triggers gradual slipping over time. If your location is uneven, adjust the leg lengths individually to compensate.
When attaching the ring light head to the tripod, ensure the mounting plate sits flush against the connection point. Tighten the mounting screw by hand first. Then use your screwdriver to secure it firmly without over tightening, which can strip the hole.
Center your camera or phone lens inside the ring light opening. Unbalanced weight distribution causes the head to tilt and slip downward. The lens should sit in the middle of the ring for proper lighting and stability.
Check that the diffuser attaches securely to the ring light casing. A loose diffuser shifts the weight distribution and creates wobbling during use.
Before each shooting session, perform a quick stability check. Gently push the ring light in different directions. It should not move or shift at all. If you notice any movement, stop and tighten the loose connection immediately.
Regular assembly checks take just two minutes but prevent expensive equipment damage and failed photo sessions. Make this a habit before every use.
Common Mistakes That Cause Slipping to Return
Many people make simple mistakes that cause their ring light tripod to slip again after they fix it. Understanding these errors helps you keep your setup stable long term.
Forgetting to tighten screws regularly is the biggest mistake. You might fix the screw hole and think you’re done, but screws naturally loosen over time. Check all connections once a week if you use your ring light frequently. A quick 30 second inspection saves you from unexpected slipping during important shoots.
Another common error is using an uneven surface. Your tripod legs need solid, flat ground to work properly. Carpet, gravel, or sloped surfaces cause the stand to shift gradually. Always set up on hard, level flooring like wood, tile, or concrete.
Overloading your ring light with too much weight causes premature slipping. Heavy camera equipment or multiple phone holders put stress on the mounting screws. Keep your setup as light as possible. Remove any unnecessary attachments or accessories you don’t actually need.
People also forget about the base stability. A narrow tripod base with thin legs struggles to support weight evenly. If your stand feels wobbly, add weight to the base itself. Some users place sandbags or weighted bags around the tripod legs for extra support.
Rushing the assembly process creates problems too. You might not fully lock the leg extensions or skip tightening the center column. Take two minutes to properly secure everything before you start shooting.
Finally, ignoring small signs of damage leads to bigger issues. If you notice a bent leg or cracked plastic, address it immediately. Small problems get worse quickly and cause slipping to return faster.
The key is consistent maintenance. Regular checks and proper setup techniques keep your ring light steady. These preventive habits are much easier than constantly fixing slipping problems.
Troubleshooting Persistent Slipping Issues
When your ring light tripod slips down gradually, the problem usually stems from worn screw holes or loose connections. The good news is that you can fix this yourself with basic tools and materials.
Start by identifying exactly where the slipping occurs. Most often, it happens at the connection point where the ring light head attaches to the tripod pole. Gently loosen the mounting screws and inspect the holes carefully.
If the screw holes look stripped or enlarged, you’ll need to repair them. Remove the plastic diffuser from the ring light casing first. This gives you access to the mounting area underneath. Use sandpaper or a small file to scratch around the screw hole lightly. This roughened surface helps glue stick better.
Apply super glue directly into the hole and onto the screw’s mounting section. Press the screw back in firmly and hold it steady for several minutes. For extra reinforcement, some users add baking soda to the glue before inserting the screw. The baking soda creates a thicker paste that fills gaps more effectively.
Allow the glue to cure completely before using your tripod again. Check the manufacturer’s instructions for drying time, which usually ranges from 24 to 48 hours.
Once the glue dries, reattach your diffuser and test the connection. Tighten the screw gradually to avoid over tightening, which can crack the plastic. The screw should feel snug but not forced.
If slipping continues after this repair, the problem might be weight related. Ensure your tripod legs are fully extended and all leg locks are engaged. Add weight to the tripod base if your camera or phone is particularly heavy. Check that your mounting hardware connects properly and sits flush against all contact points.
Regular maintenance prevents future slipping. Tighten all screws weekly during active use and inspect your setup before each shooting session.
Final Thoughts
A slipping ring light tripod is annoying, but it’s fixable. Most problems come from loose screws or worn out holes.
The good news is you can solve this at home. You do not need special tools or professional help.
Start with the simple fixes first. Tighten every screw on your tripod before you blame the equipment.
Check your base setup next. A stable base and fully extended legs solve many slipping issues right away.
If loose screws are not the problem, look at the screw holes themselves. Worn or stripped holes need a bit more attention.
Super glue works wonders for this repair. Apply it to the hole and let it cure fully before testing your tripod again.
Remember that weight distribution matters too. Do not overload your ring light with heavy phone mounts or extra accessories.
Consistency is your best friend here. Regular checks prevent small issues from turning into bigger headaches.
Make it a habit to inspect your tripod before each shoot. This simple step saves you time and frustration later.
Think of your ring light stand like any other equipment you rely on. It needs occasional care to perform well.
Small maintenance steps today prevent equipment failure tomorrow. This applies to screws, glue repairs, and base stability alike.
Do not ignore early warning signs. A slight wobble now often becomes a serious slip later.
The fixes we covered are simple and practical. Tighten screws, repair worn holes, and check your weight balance often.
With these steps, your tripod stays steady through long shoots. You get even lighting without constant adjustments.
Your ring light setup can last for years with proper care. A few minutes of maintenance goes a long way.
Fixing slippage is not complicated once you know the causes. Apply these tips and enjoy stable, reliable shoots every time.
Frequently Asked Questions
Why does my ring light tripod slip down during shoots?
Your tripod slips because the screw holes become worn over time. Loose connections also cause this problem. Sometimes the base isn’t heavy enough to support the weight properly.
How can I fix slipping screw holes at home?
Remove your plastic diffuser from the casing first. Scratch around the screw hole gently to help glue stick better. Apply super glue into the hole and onto the screw’s mounting part. Let it dry completely before reattaching anything. Some people add baking soda to the glue for extra strength.
What’s the fastest way to stabilize my stand right now?
Make sure all your tripod legs are fully extended and locked. Tighten every mounting screw by hand. Check that your tripod sits on a level surface. Add weight to the base if needed. These quick steps often stop slipping immediately.
Should I replace my tripod or can I repair it?
Most slipping issues are fixable at home. Repair works well if the problem is loose screws or worn holes. Only replace your tripod if the legs themselves are bent or cracked. Home repairs save money and take just a few minutes.
How do I prevent slipping from happening again?
Check your screw connections before each shoot. Keep your tripod on flat, stable surfaces. Inspect the mounting area regularly for signs of wear. Tighten screws every few weeks even if everything feels tight. Consistent maintenance stops small problems from becoming big ones.

Hi, I’m Rue Hessel, the founder and voice behind TheGenTool. I’m a passionate tech enthusiast who loves exploring the latest gadgets, smart devices, and electronics that shape our everyday lives. Through my website, I share honest, hands-on reviews of trending Amazon products to help you make smarter and more confident buying decisions.