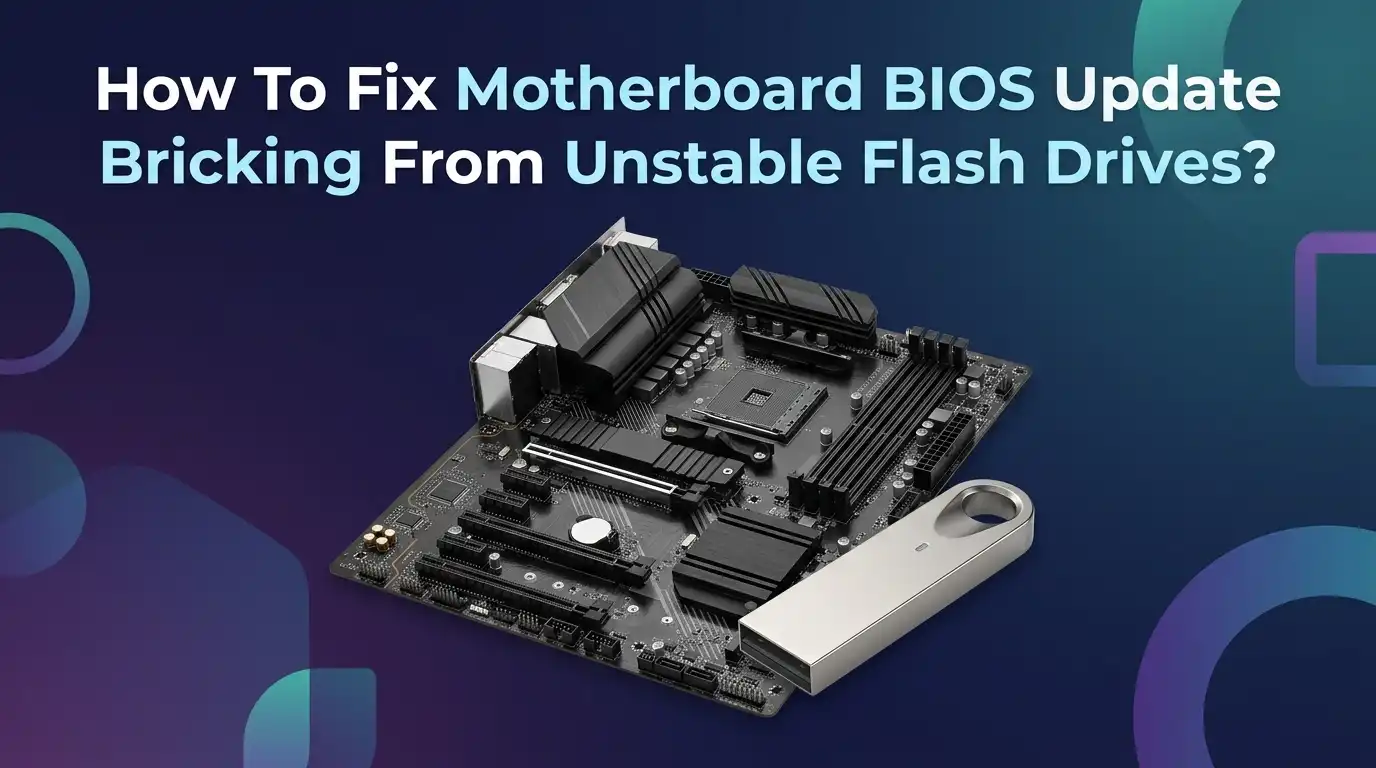
How To Fix Motherboard BIOS Update Bricking From Unstable Flash Drives?
A failed BIOS update can feel like the worst kind of PC problem. The screen stays black. Fans spin. The keyboard does nothing. You start thinking the motherboard is dead for good.
The good news is that many boards are not truly dead after a bad flash. In a lot of cases, the real issue is a weak or badly prepared USB drive, the wrong BIOS file, the wrong USB port, or a recovery method that was skipped too soon.
This guide gives you a simple path to fix the problem. You will learn what a bricked BIOS really looks like, how unstable flash drives cause failed updates, and what recovery methods give you the best chance of bringing the board back.
Key Takeaways
- A failed BIOS update does not always mean the motherboard is gone. Many boards still have recovery features built into the firmware. Some have a rear button for BIOS flashback. Some have a backup BIOS chip. Some prebuilt systems can reload recovery files from a hidden partition or a USB drive. That is why your first job is to identify what recovery path your board supports.
- The USB flash drive is often part of the problem. A drive can fail because of bad sectors, unstable power draw, poor formatting, extra partitions, or file system mismatch. A simple fresh format in FAT32 and a clean root folder can solve a surprising number of failed flashes. Small and simple drives are often safer than large, fancy, multi feature drives.
- Use the exact BIOS file for the exact board and board revision. One wrong file can stop the flash process or leave the board unable to boot. You also need the right file name if your board uses a dedicated recovery feature. Many flashback tools will reject a correct file if the name is wrong.
- Start with the least risky fix first. Rebuild the USB drive, clear CMOS, and try the board’s official recovery feature before you think about chip level repair. These methods are safer, cheaper, and easier than direct programming.
- External programming is the last serious recovery option. If the board has no working flashback tool and no backup BIOS, an SPI programmer can often restore it. This method works well, but it needs care, patience, and the right clip or chip access. It is powerful, but it is not the first move.
- Prevention matters more than repair. Use a stable power source, avoid random USB drives, do not flash from a shaky system, and keep a known good recovery drive ready. A clean process is the easiest fix of all.
What a BIOS Brick From a Bad Flash Drive Looks Like
A board that fails after a BIOS update usually shows a few clear signs. You may get a black screen, no POST, no boot logo, and no access to setup. The fans may spin, LEDs may light up, and the system may restart in a loop.
In some cases, the CPU and DRAM lights stay on. In other cases, the board looks alive but never reaches video output. That pattern often points to firmware damage or incomplete flashing.
A bad flash drive can cause this because the board reads the update file before the operating system loads. If the USB file system is unreadable, the file is corrupt, or the drive disconnects for a moment, the update can fail halfway.
That is enough to leave the startup code incomplete. The good part is that many boards still allow recovery even after these symptoms appear, so do not assume total failure on the first black screen.
Why Unstable Flash Drives Trigger Failed BIOS Updates
A motherboard BIOS update is a low level write process. It depends on steady file access from the USB drive and stable power during the whole flash.
If the flash drive has hidden partitions, an unsupported file system, poor controller quality, or random disconnect behavior, the board may read the wrong data or stop reading at the worst time. That can leave the firmware only partly written.
Some users also run into trouble with very large USB drives, old drives with wear, or fast drives that behave oddly in firmware mode. The drive may work fine in Windows and still fail in BIOS recovery mode. That difference catches many people off guard.
The main fix is simple. Use a basic drive, one partition, FAT32 if supported, and the exact recovery port on the board. That lowers risk more than most people expect.
First Safety Checks Before You Touch the Board Again
Before you try another recovery step, stop and do a few checks in the right order. Turn the system off fully. Keep the power supply connected only if your board’s flashback feature needs standby power.
Disconnect extra USB devices, storage drives, and add in cards that are not needed for recovery. Leave only the basics if the manual allows it. This reduces noise and removes extra variables.
Next, confirm the exact motherboard model and board revision. A board with a similar name may use a different BIOS file. Then check whether the board supports flashback, backup BIOS, or a special recovery key path. You do not want to waste time on the wrong method.
Pros: Safe, quick, and often enough to reveal the right path.
Cons: It will not repair the board by itself, but it prevents careless mistakes that make recovery harder.
Method 1: Rebuild the USB Drive in the Safest Format
Start by rebuilding the recovery drive from scratch. Use a smaller and simpler USB drive if you can. Format it in FAT32, or the exact format your board manual asks for. Use one partition only.
Put the BIOS file in the root of the drive. Do not leave old folders, other update files, or random tools on it. If the board maker provides a rename tool or a required file name, use it exactly. Even one wrong letter can break recovery.
If you have already tried one drive, try a second known good drive. A drive that works for normal file transfer may still be unreliable for firmware flashing. BIOS mode is less forgiving than Windows.
Pros: Low risk, cheap, and very effective for file read problems.
Cons: It will not help if the board already has deep firmware corruption and no recovery feature left.
Method 2: Use USB BIOS Flashback, Flash BIOS Button, or Q Flash Plus
If your motherboard has a dedicated flashback feature, use it before anything more advanced. This is one of the best recovery paths after a bad flash. The usual process is simple. Keep the board powered but shut down.
Insert the prepared USB drive into the exact BIOS marked USB port. Press the flashback button for the required time. Then wait for the LED to blink and finish. Do not remove power, press reset, or pull the USB drive while the light is active.
This method is strong because many boards can reflash BIOS without a CPU, memory, or video output. That makes it ideal for recovery after a failed update. It is built for exactly this kind of problem.
Pros: Official, safe, and often the fastest real recovery path.
Cons: It only works on boards that include the feature, and it still fails if the file name, USB port, or format is wrong.
Method 3: Use Built In Recovery on Prebuilt Systems and Laptops
If your system is a prebuilt desktop or a laptop, the recovery steps can be different from retail motherboards. Many large vendors include emergency BIOS recovery tools. Some systems try to restore BIOS from a hidden drive partition.
Some can read a recovery file from a prepared USB drive. Some require a key combo during power on to launch recovery mode. This path matters because a prebuilt board may ignore normal retail motherboard advice.
If your system shows a blinking light pattern, repeated beeps, or a black screen after a failed update, look for the official recovery method for that exact system line. Many users think the board is dead when it is really waiting for a recovery trigger.
Pros: Often very effective and safer than hardware repair.
Cons: Steps differ a lot by brand and model, so generic advice can waste time if you skip model specific recovery.
Method 4: Clear CMOS and Boot With Only Essential Parts
A failed BIOS flash and a bad BIOS setting can look similar. That is why a CMOS reset is worth trying after you finish the USB recovery checks. Power the system off. Disconnect power.
Use the clear CMOS button or jumper if the board has one. If needed, remove the battery for a short time and then reinstall it. After that, reconnect only the essential parts needed for boot. This can clear bad settings that block POST after an update.
Keep in mind that clearing CMOS does not roll the BIOS version back. It only resets settings. Still, that can help if the flash actually finished but left unstable memory or boot settings behind. Many users skip this step too early.
Pros: Easy, safe, and good for boot loops caused by bad settings.
Cons: It does not repair a truly corrupted BIOS image by itself.
Method 5: Check the BIOS File, the File Name, and the Board Revision
One of the most common causes of a failed recovery is a file mistake. The wrong BIOS version, the wrong board revision, a file left inside a zip archive, or the wrong recovery file name can all stop the board from flashing.
Some boards want the file exactly as downloaded. Others want a renamed file. Some vendors provide a small rename tool with the BIOS package. You must follow the board’s own rule, not a random forum tip from another brand.
Also check that the file was extracted fully and copied cleanly to the USB drive. If possible, redownload it and rebuild the drive again. A broken download can waste hours.
Pros: Very high value step with little risk.
Cons: It takes patience, and many people rush past it because they assume the first file is correct.
Method 6: Try a Different USB Port, a Simpler Drive, and a Cleaner Setup
The port matters more than people think. Boards with flashback almost always need the one specific rear USB port marked for BIOS use.
Plugging into any other port can make the process fail even if everything else is correct. If you are already using the right port, switch to a simpler USB 2.0 style drive if you have one, or at least a smaller plain drive without extra software features. Firmware tools often prefer basic devices.
Also remove hubs, front panel extensions, and adapters from the chain. Connect the USB drive straight to the board. If the manual recommends that the system be off with standby power present, follow that exactly. Small setup details can decide whether the board sees the recovery file or ignores it.
Pros: Easy and cheap to try.
Cons: It feels too simple, so users often underestimate it and move on too fast.
Method 7: Recover With Dual BIOS or Backup Firmware Features
Some motherboards include a backup BIOS chip or a dual BIOS design. If your board has this feature, it can save you from a full brick. In some cases, the board will switch to the backup copy on its own after failed boots.
In other cases, you may need to trigger the backup path with a switch, jumper, or a recovery sequence listed in the manual. This is one of the best safety nets a board can have.
Once the board boots from the backup side, reflash the main BIOS using the official method and a clean USB drive. Do not rush. Use default settings and a stable power source. The backup BIOS gives you a second chance, so treat it carefully.
Pros: Very strong recovery option and often easier than chip programming.
Cons: Not every board includes it, and the recovery trigger can be easy to miss if you do not check the manual.
Method 8: Reflash the BIOS Chip With an External Programmer
If the board has no working flashback feature and no backup BIOS, an external SPI programmer may be the last practical repair path. This method writes the BIOS chip directly, either with a clip on the chip or by removing the chip if the board design requires it.
The process can recover boards that seem fully dead after a failed flash. It is powerful because it bypasses the broken onboard recovery path.
Still, this is the most technical option in this guide. You need the correct chip, the correct image, and careful handling. A bad clip connection or wrong write can make the job slower. Use this only after the safer official options fail.
Pros: Very effective for serious corruption and often cheaper than replacing the board.
Cons: More skill, more risk, and more time. If you are unsure, a repair shop may be the smarter move.
How To Prevent Another Bricked BIOS Update
The best fix is avoiding the next failure. Use BIOS updates only when you need them for stability, security, or hardware support. Do not flash BIOS just because a newer file exists.
Prepare a clean USB drive that you trust. Keep only the required BIOS file on it. Use the official BIOS method for your board. Avoid flashing during storms, shaky wall power, or while your system is already unstable. A stable update starts long before you press the button.
It also helps to keep recovery information ready on a second device before you begin. Save the manual, the correct BIOS file, and the recovery steps in advance.
If your board supports flashback, test that you know the correct port and button before trouble starts. Preparation turns panic into a routine fix. That one habit can save hours later.
FAQs
Can a bad USB flash drive really brick a motherboard BIOS?
Yes, it can. The drive does not need to be fully dead to cause trouble. It only needs to fail during file reading, present a bad file system, or disconnect at the wrong moment. If that happens while the BIOS image is being written, the board may no longer boot normally.
Does clearing CMOS fix a corrupted BIOS?
No, not by itself. Clearing CMOS resets settings such as memory tuning, boot order, and voltage values. It can help if the BIOS update completed but the new defaults or old saved settings cause boot failure. It does not rewrite damaged firmware code.
Should I keep trying the same USB drive again and again?
No. If one drive already failed, switch to a different simple drive and rebuild it from scratch. Use one partition, the right format, the correct file name, and the exact BIOS USB port on the board. Repeating the same setup usually repeats the same failure.
When should I stop and get professional repair help?
Stop when you have confirmed the correct file, rebuilt the USB drive, tried the board’s official recovery path, cleared CMOS, and checked for backup BIOS features. If the board still shows no recovery progress, an external programmer or repair service is the next sensible step. That is the point where skill matters more than guesswork.

Hi, I’m Rue Hessel, the founder and voice behind TheGenTool. I’m a passionate tech enthusiast who loves exploring the latest gadgets, smart devices, and electronics that shape our everyday lives. Through my website, I share honest, hands-on reviews of trending Amazon products to help you make smarter and more confident buying decisions.